Graphics Programs Reference
In-Depth Information
placed graphics displays pages faster and doesn't affect the quality of the final output. You
can control the degree of detail InDesign uses to display placed graphics.
1.
In the Links panel, select the 10_i.ai file you updated in the previous exercise (on
page 4). Click the Go To Link button ( ) to view the graphic in magnified view.
2.
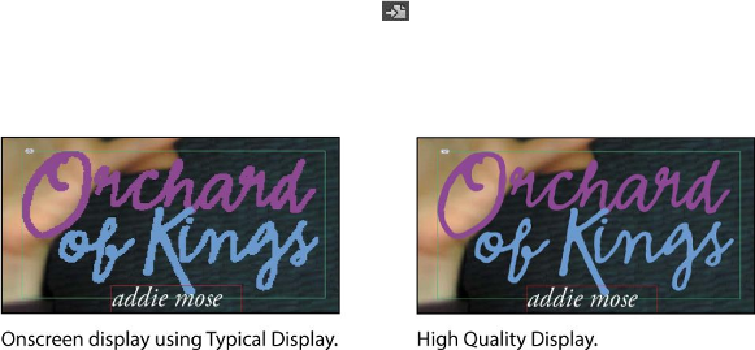
Right-click (Windows) or Control-click (Mac OS) the Orchard of Kings graphic,
and then choose Display Performance > High Quality Display from the context
menu. The image appears at full resolution. You can use this process to confirm the
clarity, appearance, and position of a placed graphic in your InDesign layout.
3.
Choose View > Display Performance > High Quality Display. This setting changes
the display performance for the entire document. All graphics are displayed at the
highest quality.
On older computers, or for designs with many imported graphics, this setting can
sometimes result in slower screen redraw. In most cases, it is advisable to set your
Display Performance to Typical Display, and then change the display quality of in-
dividual graphics as needed.
4.
Choose File > Save.
Working with clipping paths
You can remove unwanted backgrounds from images using InDesign. You'll get some ex-
perience doing this in the following exercise. In addition to removing the background in
InDesign, you can create paths or alpha channels in Photoshop that can be used to silhou-
ette an image that's been placed in an InDesign layout.
The image you will be placing has a solid, white rectangular background that blocks the
view of the area behind it. You can hide unwanted parts of an image using a clipping
path—a drawn vector outline that acts as a mask. InDesign can create clipping paths from
many kinds of images: