Graphics Reference
In-Depth Information
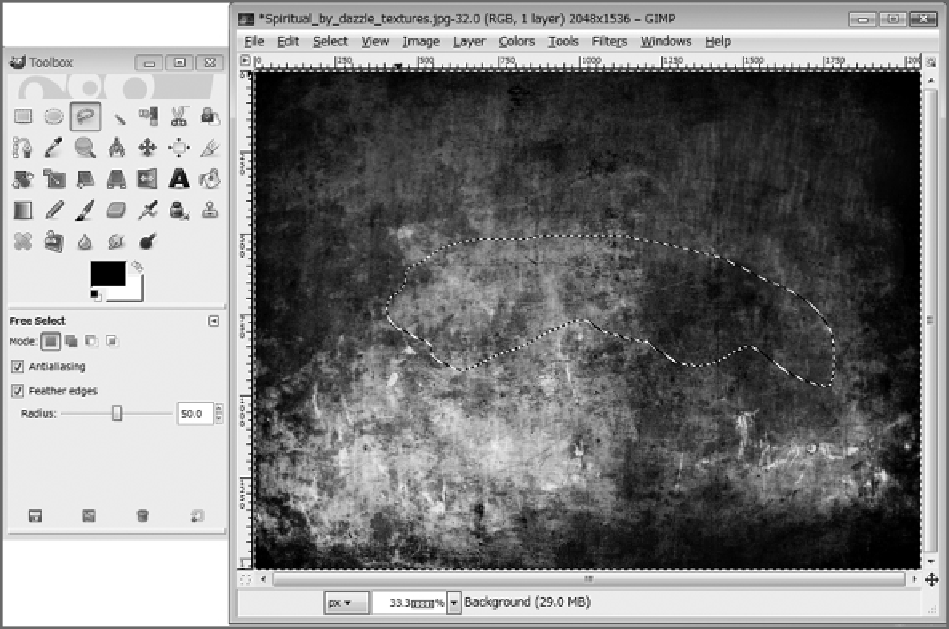
Figure 2-23
Selecting an area of grime
10.
Press Ctrl+C to copy this selection. Return to the face layout and texture file you were working on
and paste the selection with Ctrl+V. As in the previous steps, add a new layer, and then rotate and scale
the new texture layer, as shown in
Figure 2-24
.
11.
Do this several times with differently shaped segments of grime, as shown in
Figure 2-25
. Note also
that the layer's mode can be changed for different effects. In most cases, Normal mode will give the res-
ults you want, but Soft Light will also give appealing, subtle discoloration. Experiment with other modes
for different effects.
12.
After you are satisfied with your texture, turn the opacity of all layers up to 100 percent, and make
sure all the necessary layers are set to be visible by using the small eye icon to the left of each layer's
thumbnail. From the Layer menu, select New From Visible to create a new single-composite layer from
all currently visible layers, as shown in
Figure 2-26
.
13.
Rename this new layer
color
in the field to the right of the thumbnail, and set all the other layers
above it to be invisible by clicking the eye icons, as shown in
Figure 2-27
.