Graphics Reference
In-Depth Information
• The upper-left window is a Graph Editor window. This is used to control the values of animatable se-
quence effects.
• The upper-right window is a VSE window set to Image Preview display mode. The button in the middle
of these three buttons in the header selects Image Preview mode.
• The leftmost button of the three header buttons selects Sequence display mode. The wide window below
the top two and above the timeline that extends the width of the workspace is a VSE set to Sequence
display mode. This is where the video and audio strips are displayed in their corresponding channels and
where you will be doing most of the actual video-editing work. In general, when this chapter refers to a
VSE window
or a
Sequence Editor window
, it means the VSE window is set to Sequence display mode,
as shown in
Figure 11-3
.
If the chapter refers to other display modes, such as the Image Preview display
mode, it will specify the display mode explicitly. The rightmost button of the three buttons in the header
will set the window to display both sequences and an image preview at the same time.
• The window below the VSE window is the timeline, which should be very familiar to any Blender user.
Importing Video and Image Sequences
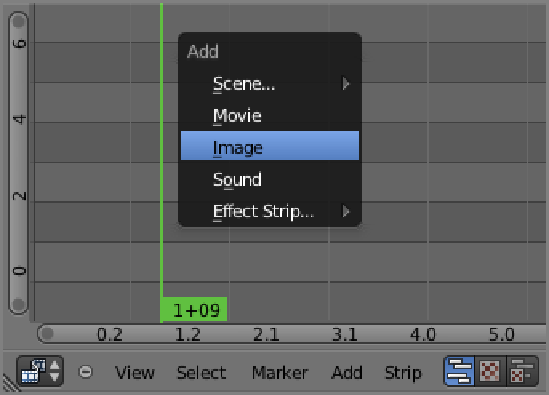
After you have set up your video-editing environment, the first step in working with the VSE is to import a
video or image sequence to work with. Do this by moving the mouse over the VSE window and pressing the
spacebar to bring up the menu shown in
Figure 11-4
.
As you can see from the menu, there are several choices
of strip types you can add. For importing new video or image sequences, you can choose the Image option or
the Movie option.
Figure 11-4
The Add Sequence Strip menu