Graphics Reference
In-Depth Information
In some of the figures in this section, I have selected all the hair points by using the A key, mainly to high-
light them and make them more clearly visible. In fact, in Hair Editing mode, having
everything
selected is
exactly the same as having
nothing
selected in terms of the hairstyling tools. In both cases, all hairs and
points respond to the tool you're using. However, if
part
of the hair is selected, only that part will respond to
the tool. If your hair is not responding for some reason, check to make sure that nothing is selected. Even a
single selected point will prevent the other hairs from being editable. Unlike the styling tools, G key transla-
tion, R key rotation, and S key scaling will always affect only selected points.
At this point, the hair probably conforms pretty well to the shape of the head. However, this is only natural
if the hair is wet or pulled tightly into a pony tail or bun of some kind. For more naturally flowing hair, there
should be a little bit of body in the form of some space between the hairs as they lie on the head. To add this
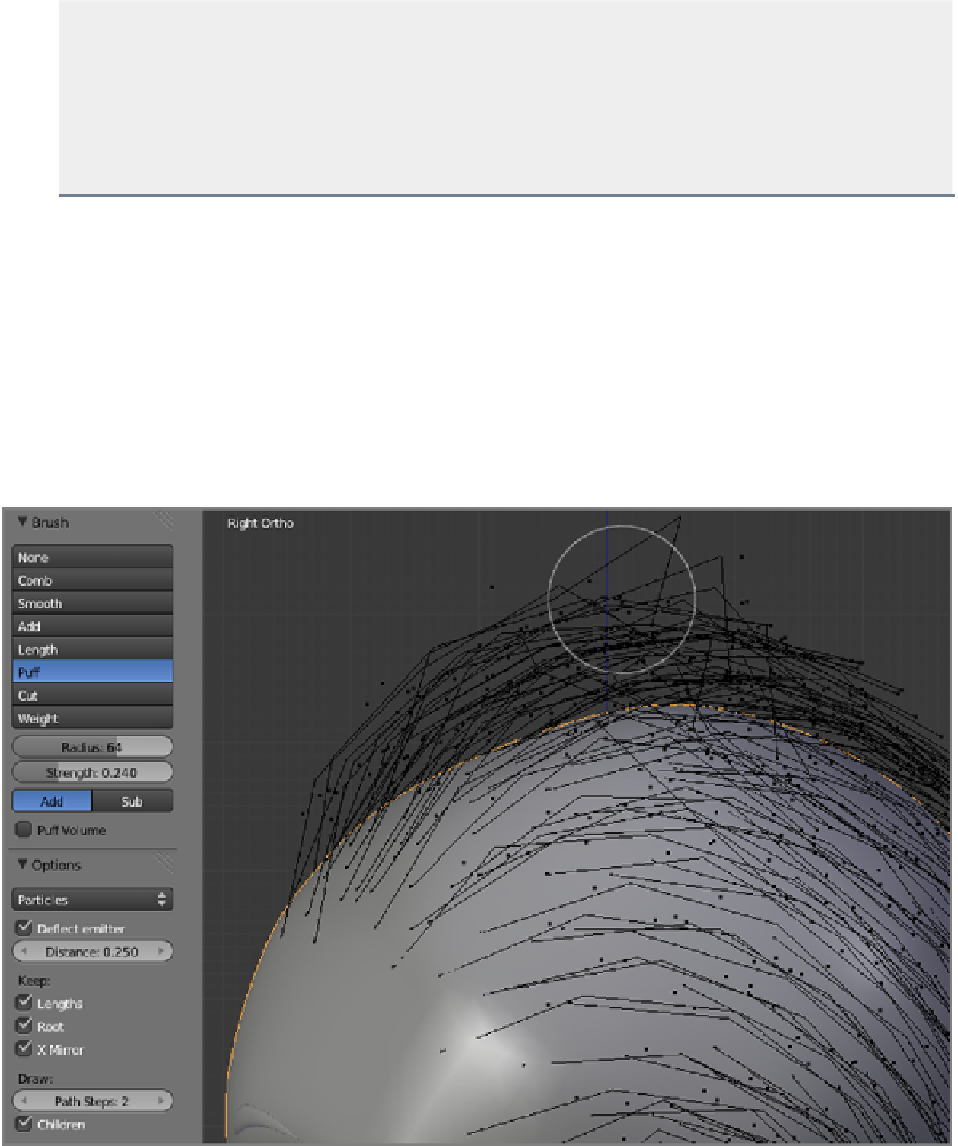
body, use the Puff tool. Like the Comb tool, the Puff tool is easiest to use by moving it along the edge of the
modelasshownintheviewport,soyoucanseetheeffectdirectlyandcontrolthedirectionoftheeffect.Asyou
draw the tool along the curve of the scalp, the hair puffs up and rises away from the scalp, as shown in
Figure
6-50
.
In most cases, simply puffing up the hair will not result in a very shapely hairstyle. You will want to go
over this again with the Comb tool set at a lower strength (and probably a smaller size) to give this puffed-up
hair a cleaner outline. If you want to clean up the tips of the hair only, comb it again in Tip Select mode so the
roots stay puffed up and the tips respond to the comb.
Figure 6-50
Puffing up the hair