Graphics Reference
In-Depth Information
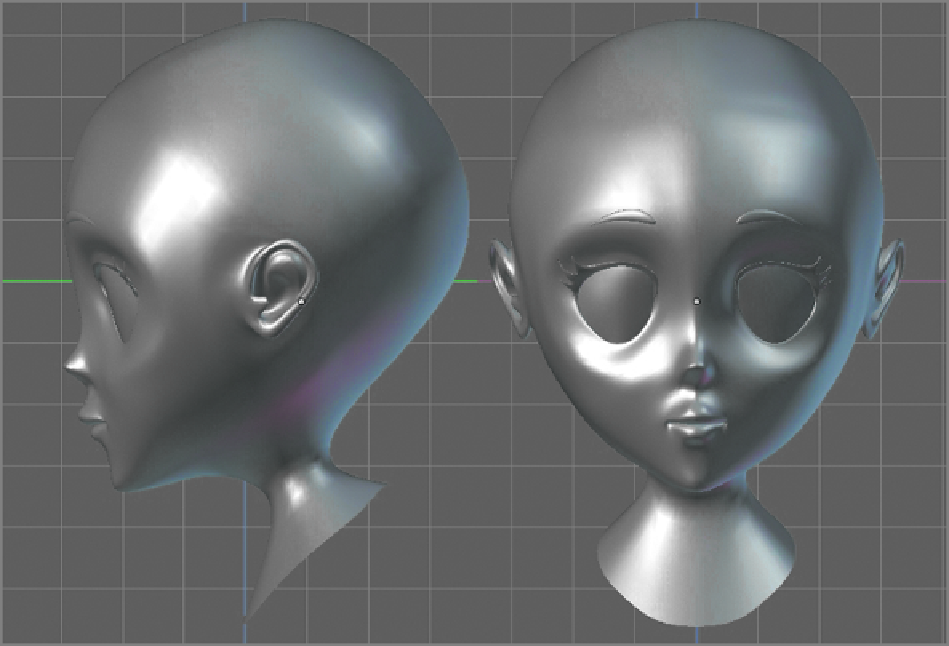
Figure 6-35
A practice head for hair
Preparing the Mesh
Forbest results when working with hair in Blender,it'shelpful to plan things in advance and to decide howyou
wantthehairtoemitfromandinteractwiththemesh.Inthisexample,I'memittinghairdirectlyfromthemodel
mesh.Specifically,thenewparticlesystemismuchbetterequippedtobedeflectedbytheemittermesh,making
it possible to work with long hair that interacts with the head, neck, and shoulders.
The geometry of the mesh has an effect on where the particles emerge from and on how weight painting and
seams can be applied. Therefore, it's a good idea to organize your model's geometry to make the hairstyling
job easier where possible. I planned the geometry of this model deliberately to give me an easy-to-work-with
hairline, as shown in
Figure 6-36
.
The last thing to doto prepare the mesh is to decide where youwant yourparticles to emerge from and to set
up an appropriately weighted vertex group. I created a vertex group called Hair and assigned the scalp vertices
to that vertex group with a value of 1. In Weight Paint mode, the weighted mesh looks like
Figure 6-37
.
As
you'll see, it is possible to add hair and to cut hair from the mesh later, as part of the particle-editing process,
but using a vertex group is a simple and straightforward way to map out in advance where the hair will grow.