Graphics Reference
In-Depth Information
the mesh's ordinary shape (including any non-soft-body deformations) and are not influenced by the soft body
simulation. Vertices with a low goal weight are freer to move around in accordance with the soft body simula-
tion. The Mesh object in this example has only two vertices. You will use a goal vertex group to nail the top
vertex in place, while allowing the bottom vertex to exhibit soft body behavior:
1.
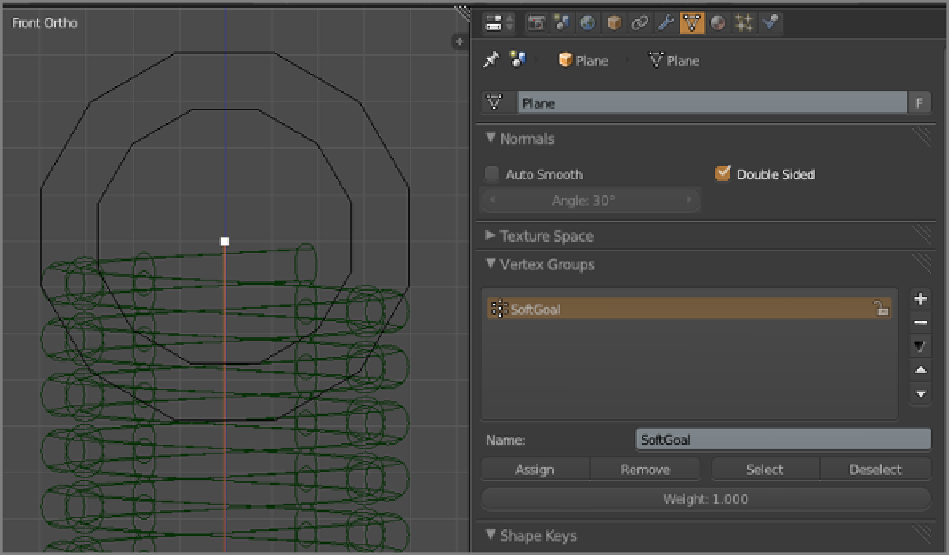
Select the Mesh object and enter Edit mode.
2.
In the Vertex Groups panel of the Mesh properties window, click the plus symbol icon. Type
SoftGoal
in the Name field of the new vertex group. Now select the top vertex of the mesh, as shown in
Figure
5-15
,
and click Assign. The default weight assignment value is 1, so this will assign a 1 value to this ver-
tex.
Figure 5-15
Assign the top vertex to the SoftGoal vertex group.
Finally, activate the soft body simulation. Return to Object mode, and with the Mesh object still selected,
click the Soft Body button on the Soft Body tab in the Physics buttons area.
1.
To start, set the values as shown in
Figure 5-16
.
2.
Run the simulation by pressing Alt+A, and watch the spring deform as shown in
Figure 5-17
.
The point of these three tutorials was to set up the simplest and most explicit possible example of what soft
bodies actually do. You should experiment with this spring to find out how the different soft body parameters
affect its behavior. Try changing the mass, stiffness, and speed values and see what happens. Try animating the
location and rotation of the soft body mesh (remember, the armature is constrained to follow the empties, and
the empties are vertex-parented to the mesh). If you bake the soft body and then animate the object, what hap-
pens? (Hint: To do this right, you'll need to free the bake by clicking Free Bake in Bake Settings.)