Graphics Reference
In-Depth Information
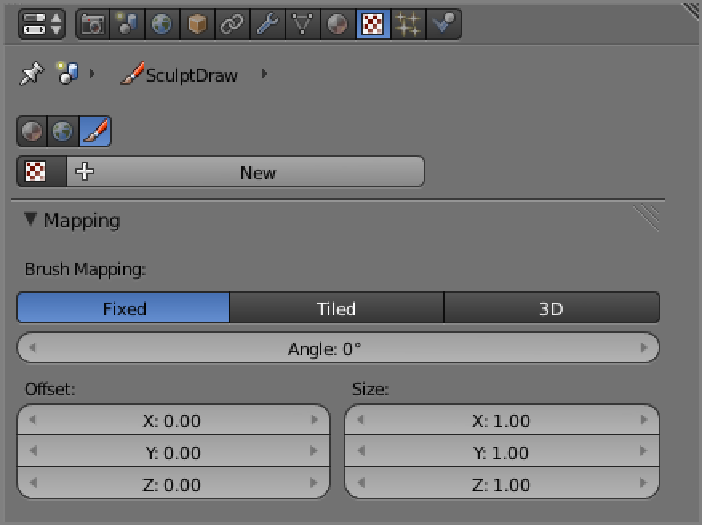
Figure 3-8
Brush Texture properties
Sculpting a Baby's Head
The Sculpt tool is excellent for creating rough textures and uneven bumps and ridges, and for this reason, one
often sees sculpted examples of demons, monsters, and old people. Unfortunately, such examples tend to leave
theimpressionthattheSculpttoolisgood
only
forthiskindofmodeling.Todemonstratethatsculptingcanalso
be effective for smooth, organic modeling, I have gone in the other direction and used a photograph of a baby
as the basis of this example.
Preparing to Sculpt
Before you begin the actual sculpting process, you need to prepare your mesh and reference images. To do this,
follow these steps:
1.
In the window on the left, press 1 on the number pad to enter Front view.
2.
In the window on the right, press 3 on the number pad to enter Side view.
3.
Open the reference picture in each window by opening the 3D viewport Properties Shelf with the N
key and clicking the check box by Background Images, as shown in
Figure 3-9
.
4.
Click Add Image and load the image from wherever you have it saved. You can find the image among
the downloadable files that accompany this topic in the file
baby.jpg
.
5.
In the Axis drop-down window, choose Front view, and center the image using the X Offset value in
the Background Image panel. Then switch to Side view by pressing 3 on the number pad, and click Add
Image again.