Geography Reference
In-Depth Information
Note the black arrow in Figure 28 pointing at
SRS Transformation
—be careful not to use
this one as it is an actual data transformation. You may find that you need this if you're
transforming your data from one spatial system to another; for example, if you have a GPS
course recorded from a GPS device, it may be in WGS84 coordinate space, but you may
need to change it to a local UTM system that matches your area of the globe.
Set SRS
does NOT transform the actual coordinate values; it simply sets the SRID of the
data you're adding. You must ensure that this SRID is the correct value; otherwise, when
you try to demonstrate or project your data, your geometry will appear in a completely
different place than where you expect it.
Once you've added the necessary steps to the workspace, you need to connect them. To do
this, click on one of your steps to select it, hold
Shift
, and then click and drag to the step you
wish to connect. One thing that may be confusing is that GeoKettle does not draw a line as
you drag the pointer from one step to the next. Just keep moving the pointer to your next
transformation step and release the mouse button when you reach it.
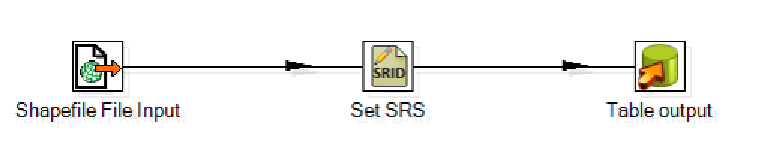
For our example, connect the
Shapefile File Input
to
Set SRS
, and then connect
Set SRS
to
Table output
. If all goes as expected, you should see something like the following:
Figure 29: Connected Transformation Steps
Configuring the Steps
Once you have everything connected, you should be ready to configure everything. We'll
start by configuring the shapefile input. Double-click the
Shapefile File Input
step to gain
access to its properties.