Graphics Programs Reference
In-Depth Information
Step Two:
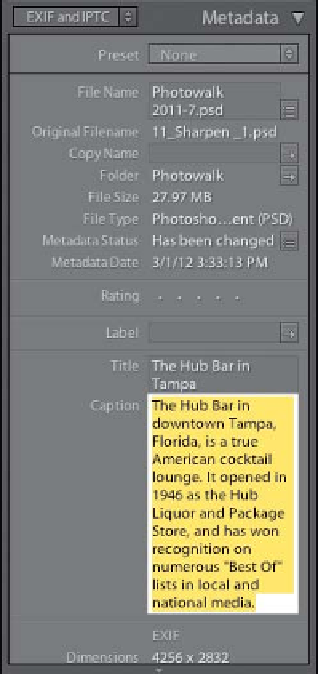
Although you can't change the EXIF
data embedded by your camera, there
are fields where you can add your own
info. For example, if you need to add
captions (maybe you're going to be up-
loading photos to a wire service), just go
to the Caption field, click your cursor
inside the field, and start typing (as
shown here). When you're done, just
press the
Return (PC: Enter) key
. You
can also add a star rating or label here
in the Metadata panel, as well (though
I usually don't do that here).
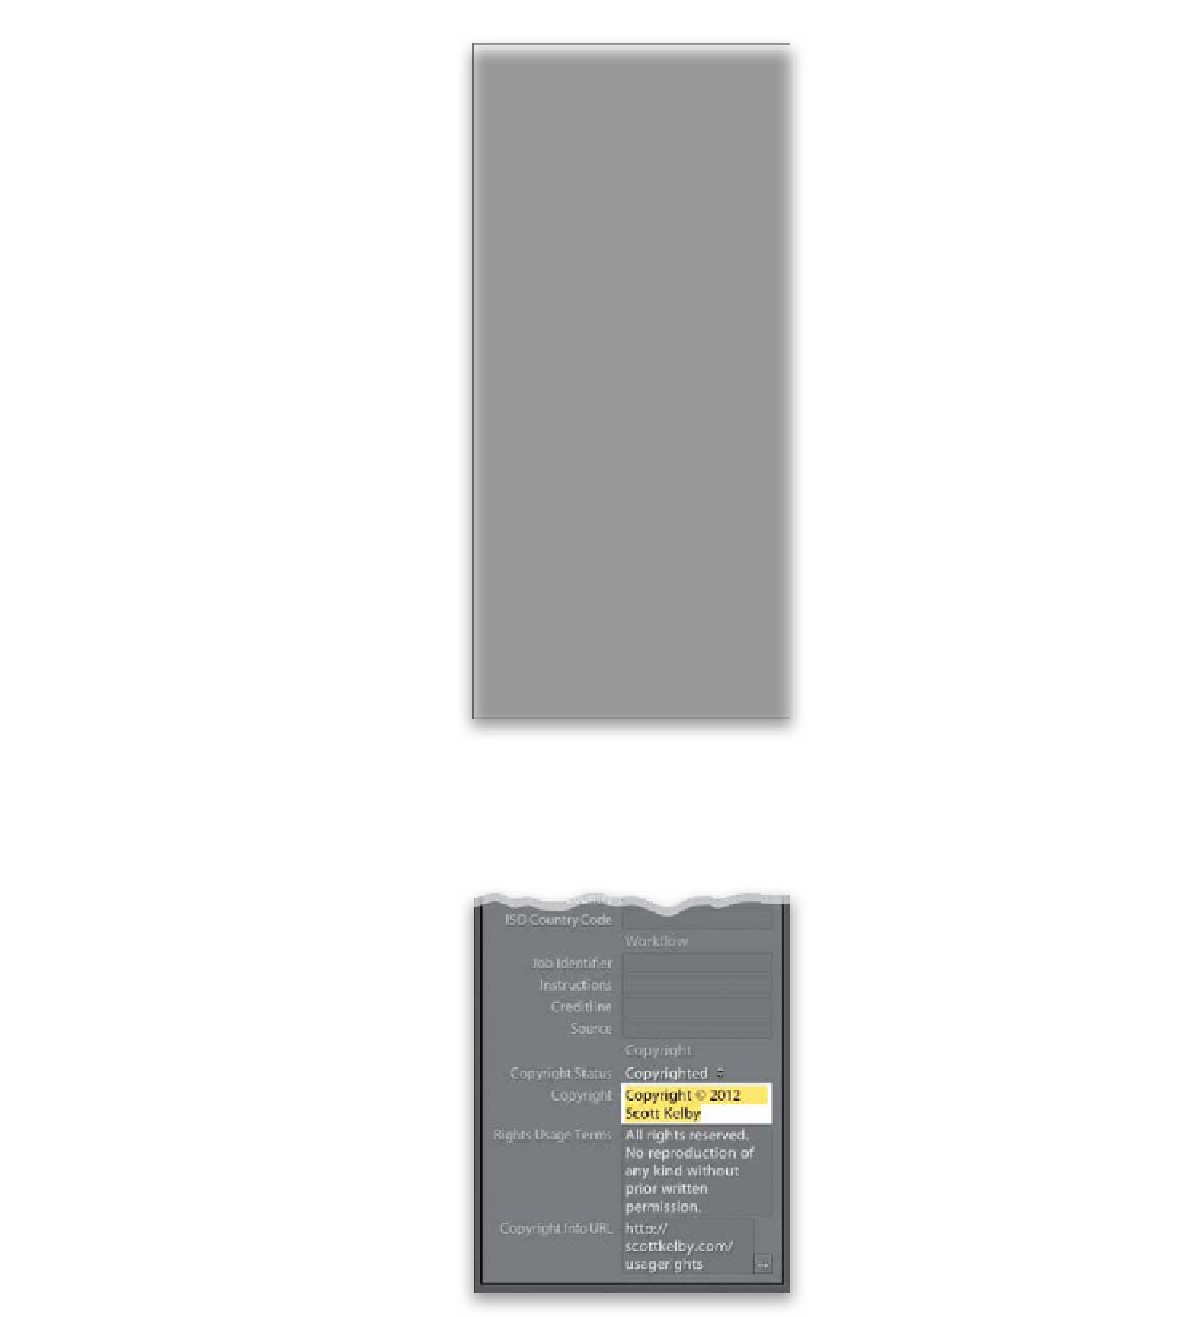
Step Three:
If you created a Copyright Metadata preset
(see Chapter 1), but didn't apply it when
you imported these photos, you can apply
that now from the Preset menu at the top
of the Metadata panel. Or if you didn't cre-
ate a copyright template at all, you can add
your copyright info manually. Scroll down
to the bottom of the Metadata panel to
the Copyright section, and just type in
your copyright info (and make sure you
choose Copyrighted from the Copyright
Status pop-up menu). By the way, you
can do this for more than one photo at a
time. First, Command-click (PC: Ctrl-click)
to select all the photos you want to add
this copyright info to, then when you add
the information in the Metadata panel, it's
instantly added to every selected photo.
Note:
This metadata you're adding is stored
in Lightroom's database, and when you ex-
port your photos from Lightroom as either
JPEGs, PSDs, or TIFFs, this metadata (along
with all your color correction and image
editing) gets embedded into the file itself
at that moment. However, it's different
when working with RAW photos (as you'll
see in the next step).