Graphics Programs Reference
In-Depth Information
I mentioned that you have the option of having your photos converted
to DNG (Digital Negative) format as they're imported. DNG was created by
Adobe because today each camera manufacturer has its own proprietary RAW file
format, and Adobe is concerned that, one day, one or more manufacturers might
abandon an older format for something new. With DNG, it's not proprietary—
Adobe made it an open format, so anyone can write to that specification.
While ensuring that your negatives could be opened in the future was
the main goal, DNG brings other advantages, as well.
Format Advantage
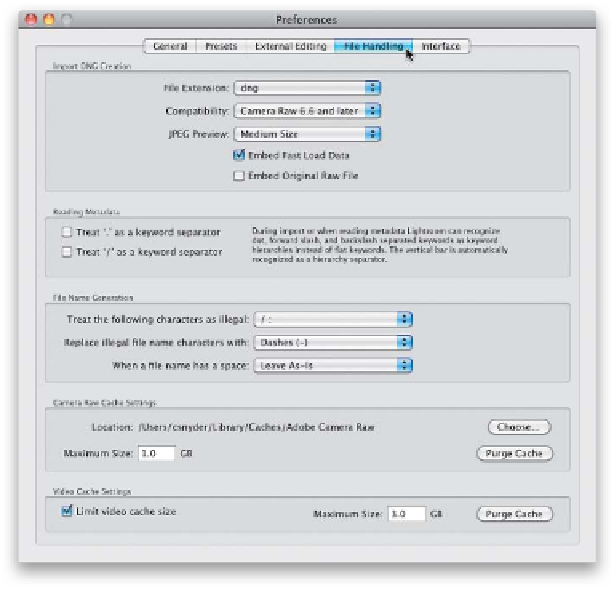
Setting Your DNG Preferences:
Press
Command-, (comma; PC: Ctrl-,)
to bring up Lightroom's Preferences dialog,
then click on the File Handling tab (as
shown here). In the Import DNG Creation
section at the top, you see the settings
I use for DNG conversion. Although you
can embed the original proprietary RAW
file, I don't (it adds to the file size, and
pretty much kills Advantage #1 below).
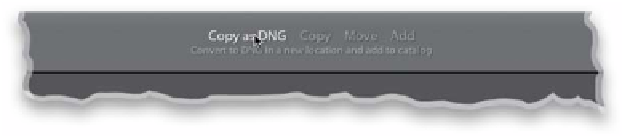
By the way, you choose Copy as DNG at
the top center of the Import window (as
shown below).
Advantage #1:
DNG files are smaller
RAW files usually have a pretty large file
size, so they eat up hard disk space pretty
quickly, but when you convert a file to
DNG, it's generally about 20% smaller.
Advantage #2:
DNG files don't need
a separate sidecar
When you edit a RAW file, that metadata
is actually stored in a separate file called
an XMP sidecar file. If you want to give
someone your RAW file and have it include
the metadata and changes you applied to
it in Lightroom, you'd have to give them
two files: (1) the RAW file itself, and (2) the
XMP sidecar file, which holds the meta-
data and edit info. But with a DNG, if you
press
Command-S (PC: Ctrl-S)
, that info
is embedded right into the DNG file itself.
So, before you give somebody your DNG
file, just remember to use that shortcut so
it writes the metadata to the file first.