Graphics Programs Reference
In-Depth Information
Once your image(s) has been retouched, it's time to deliver the final image(s)
to the client, either via email or by delivering prints. The email part is the same
as the emailing proofs part, so I won't put you through that again, but
I do want to take you through making a print for the client.
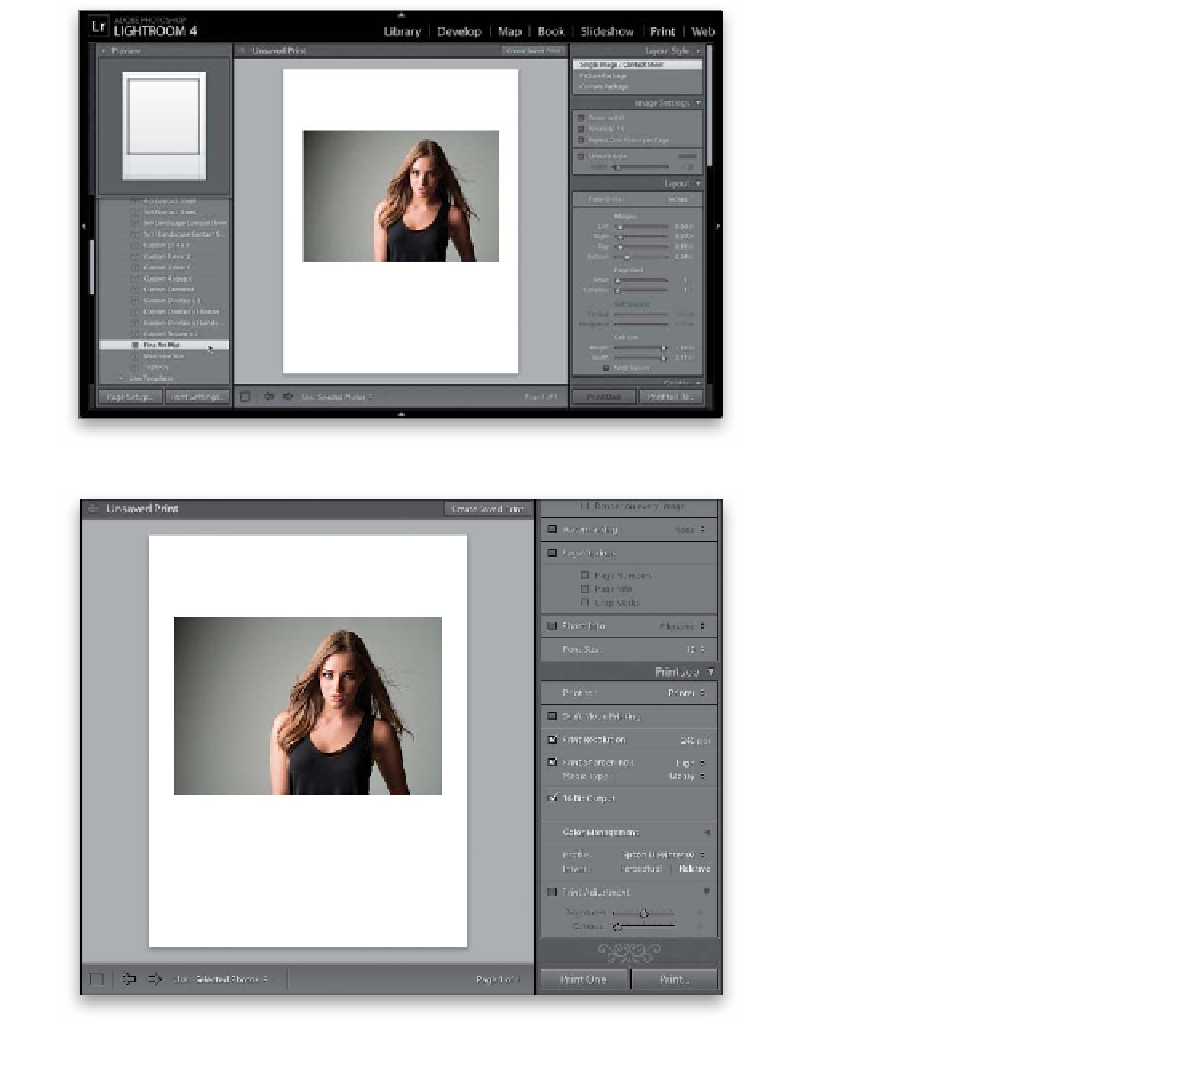
Step One:
Click on the image you've fully retouched,
then go to the Print module and, in the
Template Browser, click on whichever tem-
plate you want to use (I chose the Fine Art
Mat template for the image you see here).
The default page setup for this template is
US Letter (8x11"), so if you need a different
size, click the Page Setup button (at the bot-
tom of the left side Panels area) and choose
your size there. When the dialog appears,
choose the printer, paper size, and orienta-
tion, then click OK to apply these settings.
You might need to t weak the margins a
bit after choosing a new page size, since it
doesn't automatically adjust everything.
Step Two:
Now it's time to print the image (this is
covered in-depth starting back on page
414 in Chapter 13). Scroll down to the Print
Job panel (in the right side Panels area), and
from the Print To pop-up menu at the top,
choose
Printer
. Then, for Print Resolution,
since I'm printing to a color inkjet printer,
I can leave it at 240 ppi. Make sure the Print
Sharpening checkbox is turned on, choose
the amount of sharpening from the pop-
up menu on the right (I generally choose
High), and then choose the type of paper
you'll be printing on from the Media Type
pop-up menu (I chose Glossy here). If your
printer supports 16-bit printing, then you
can turn on the 16 Bit Output checkbox (at
this point, only Macs running OS X Leopard
or higher support 16-bit printing). Then, in
the Color Management section, choose your
Profile and set your rendering Intent (again,
covered in Chapter 13). I chose Relative here.
Continued