Graphics Programs Reference
In-Depth Information
Step Three:
This brings up Lightroom's email message
dialog (shown here), where you enter your
client's email address, the subject line of
your email, and so on (more on emailing
back on page 280). The one thing I do want
to point out is the size you'll be sending
these. You might want to send very small
proofs if you're concerned about the client
using the images before they're finished
(or before you've been paid), in which
case, not only should you send a smaller
size (choose
Small
from the Preset pop-up
menu in the bottom-left corner), but you
also might want to add a visible water-
mark (see page 276 for how to do that).
Once you've added your client's address,
just click the Send button in the lower-
right corner.
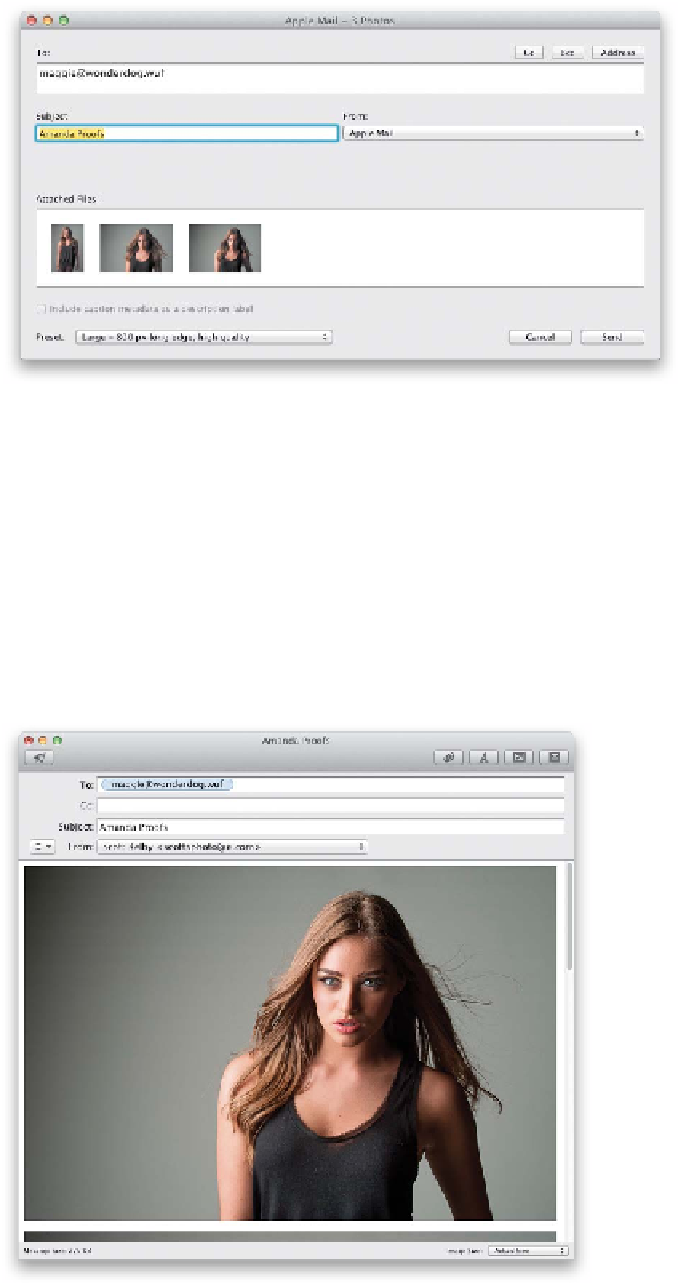
Step Four:
This opens your email application, creates
a blank email, fills in all the info you just
added, and attaches your photos. If you
take a look here, I sent pretty decent-sized
proofs to the client. I left the preset set to
Large, so the long edge is 800 pixels long,
and the quality was set to High, but even
at that, these three JPEG files combined
only added up to 275 KB. So, you can see
that you could actually send quite a few
via email (if each one is approximately just
90 KB in file size with these settings, you
could send around 75 JPEG proofs like this
via email and still be under even the most
conservative email attachment limit of
5 MB). Hit the Send button and off they go
to the client. Now, we just keep our fingers
crossed and hope they like 'em (don't
worry, they'll like 'em).