Graphics Programs Reference
In-Depth Information
At this point, I want to get the proofs to the client as quickly and easily as
possible, and for a small number of images like this, that means emailing them
directly from Lightroom straight to the client. If I had a large number of images
to send (15, 20, or more), at that point I'd create a web proofing page, and you
can find out how to do exactly that in the bonus web chapter I included on
this book's companion webpage (the address is in the intro of this book).
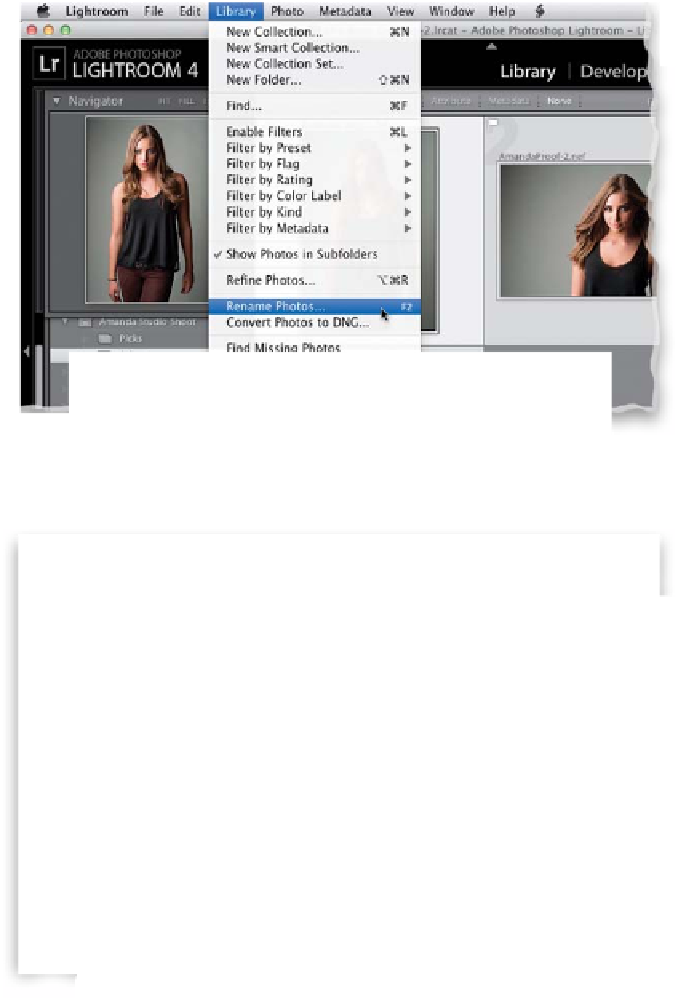
Step One:
Press
G
to jump back to the Grid view
and click on your Selects collection. Select
the three images you just gave the quick
retouch to, as they're the one's we're going
to send to the client. Now, go under the
Library menu and choose
Rename Photos
(as shown here). When the Rename Photos
dialog appears, change the name to some-
thing simple the client will be able to work
with (I use the person's name, then Proof,
then a sequential number, so in this case, all
the images will be renamed AmandaProof-1,
AmandaProof-2, and so on).
Step Two:
Now, while your three Selects are still
selected, go under the File menu and
choose
Email Photos
(as shown here),
although the keyboard shortcut for
emailing from Lightroom 4 is really
easy to remember—it's
Command-
Shift-M (PC: Ctrl-Shift-M)
.
Continued