Graphics Programs Reference
In-Depth Information
Step Seven:
You can control the Opacit y level of your
Overlay Image, as well. When you press-
and-hold the Command (PC: Ctrl) key, two
little controls appear near the bottom of
the Overlay Image. On the left is Opacity,
and you just click-and-drag to the left
directly on the word “Opacity” to lower
the setting (as seen here, where I've low-
ered our cover image to 40%). To raise the
Opacity back up, drag back to the right.
Step Eight:
The other control I actually think is more
useful, which is the Matte control. You
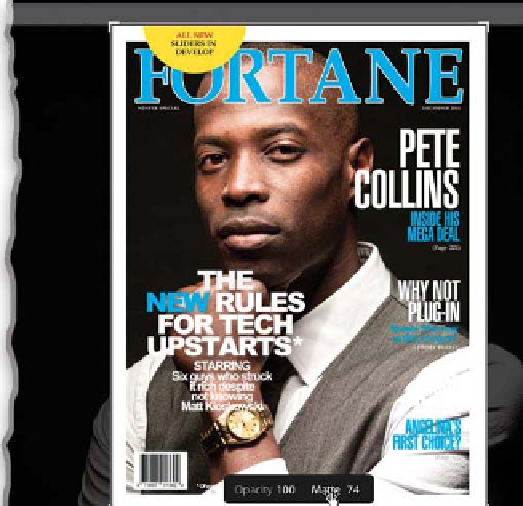
see, in the previous step, how the area
surrounding the cover is solid black? Well,
if you lower the Matte amount, it lets you
see through that black background, so you
can see the rest of your image that doesn't
appear inside the overlay area. Take a look
at the image here. See how you can see
his shoulders outside the cover? Now
I know that this image has room for me
to move him either left or right, and parts
of him are still there. Pretty handy, and it
works the same as the Opacity control—
press-and-hold the Command key and
click-and-drag right on the word “Matte.”
If you want to hide the Image Overlay
and return to the normal Lightroom view,
press
Command-Option-O (PC: Ctrl-
Alt-O)
or just go back under the View
menu, under Image Overlay, and turn
off Show Image Overlay.


