Graphics Programs Reference
In-Depth Information
Step 17:
Once your print comes out of the printer,
now it's time to take a good look at the
print to see if what we're holding in our
hands actually matches what we saw
onscreen. If you use a hardware-based
monitor calibrator, and you followed
all the instructions up to this point on
downloading printer profiles and all that
stuff, the color of your image should be
pretty spot on. If your color is way off,
my first guess would be you didn't use a
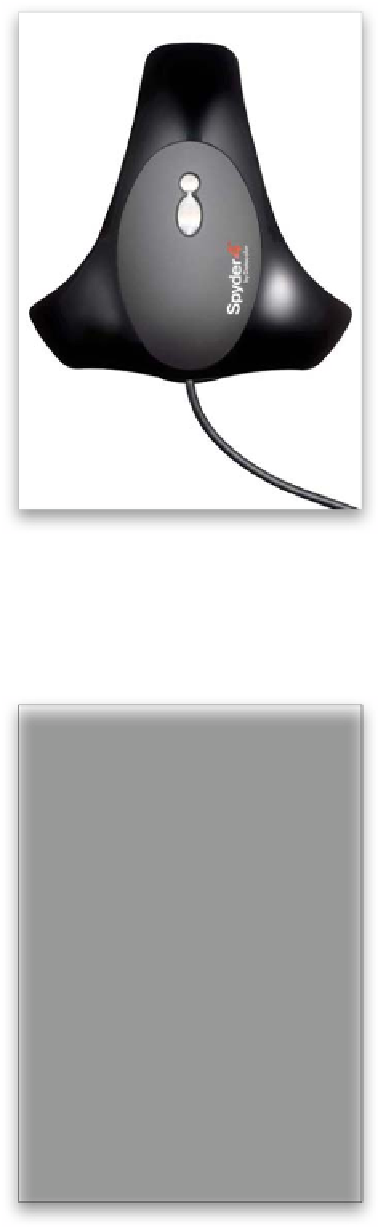
hardware-based calibrator. The one I use
is the Spyder4 Elite by Datacolor (shown
here), and using it is seriously a no-brainer.
You put it on your monitor, launch the
software, choose “easy-you-do-it-all-auto-
matically-for-me” mode (not it's actual
name), and in about four minutes your
monitor is calibrated. This is such a critical
step in getting your color right that without
hardware calibration of some sort, you really
have little hope of the colors on your moni-
tor and your print actually matching.
Step 18:
If you've used a hardware calibrator, and
followed the instructions in this section
of the book, your color should be pretty
much spot on (and if it isn't, jump back to
page 202 for the section on soft proofing),
but there's another printing problem you're
likely to run up against. Your color probably
matches pretty darn well, but my guess is
that the print you're holding in your hand
right now is quite a bit darker than what
you see on your screen. That's mostly be-
cause, up to this point, you've been seeing
your image on a very bright, backlit moni-
tor, but now your image isn't backlit—it's
flat on a printed page (imagine how a
backlit sign looks when you turn off the
back lighting? Well, that's what you're hold-
ing). Luckily, in Lightroom 4, Adobe added
a way to address this problem by adding
a Print Adjustment option at the bottom
of the Print Job panel (shown here).