Graphics Programs Reference
In-Depth Information
Step Three:
Although I used a built-in print template
here, you can use the Print module's
Custom Package feature (found up in the
Layout Style panel at the top of the right
side Panels area) to start with a blank page
and create any type of layout you want
(see page 394). Okay, once you've got your
page set up the way you want it to look
here in the Print module, scroll down to
the Print Job panel and, where it says Print
To, go ahead and choose
JPEG File
(as
shown here). Set your Print Sharpening and
Media Type to whichever settings you use
(my settings are shown here), then turn on
the checkbox for Custom File Dimensions
(so it uses the 7x7" custom size you cre-
ated). Click the Print to File button to save
this single 7x7" page as a JPEG file.
Step Four:
Now go to the Library module, and press
Command-Shift-I (PC: Ctrl-Shift-I)
to
bring up the Import window. Find that
JPEG file you just created and import it
into Lightroom. Once it comes in, drag it
into the collection you created for your
photo book, then jump back to the Book
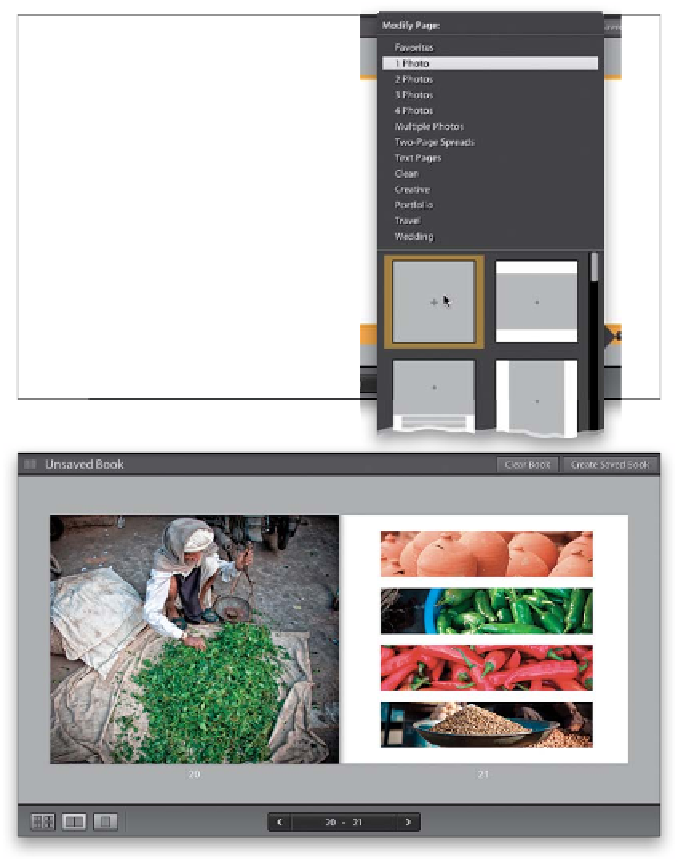
module. Go to the page in your book
where you want this 4 Wide image to ap-
pear. Right-click on the image on that page
and choose
Remove Photo
, so it's just an
empty page. From the Modify Photo pop-
up menu, choose a layout where the photo
will fill the entire page (as shown at the
top here). Then, simply find your 4 Wide
image in the Filmstrip and drag it onto this
empty page to get the layout you see here.
The downside is that it's not a template—
it's a fixed page (a flattened JPEG like any
other photo). The upside is that you've got
a page in your book where you created the
layout from scratch exactly the way you
wanted it.