Graphics Programs Reference
In-Depth Information
Step Seven:
While we're talking presets: if you tweak
your text and like it, you can save the
settings as a preset (choose
Save Current
Settings as New Preset
from the Text
Style Preset pop-up menu). That way, next
time you don't have to start from scratch.
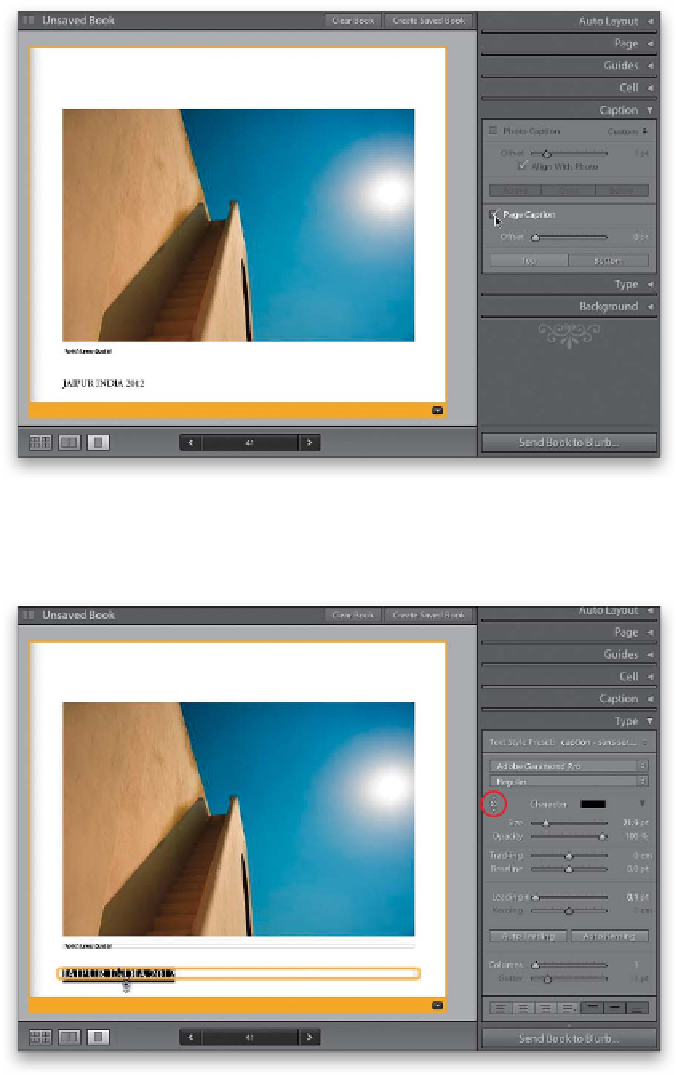
If you'd like to add another line of text
(besides your caption), go back to the
Caption panel and turn on Page Caption
(as shown here). This adds another line of
text, lower down the page (you can con-
trol how far below the photo it appears
using the Offset slider, just like the Photo
Caption). Of course, you can use the Type
panel to choose your font, alignment, and
all that stuff just like usual, but remember
to highlight your text first.
Step Eight:
If you'd like a more visual approach to
your type tweaks (rather than dragging
sliders or choosing numbers), then click
on the Targeted Adjustment tool (TAT, for
short—it's circled in red here). Now you
can click-and-drag on your highlighted text
to change the Size or Leading. Just move
your cursor directly over your text, and
click-and-drag up/down to control the
space between two lines of text (Leading)
or drag left/right to control the Size of your
type (that's what I'm doing here). Honestly,
I don't find myself using the TAT for Type
tasks—it seems easier and faster to just
move the sliders, but hey, that's just me.
So, that's the scoop on adding captions
and text to your photo book.
Note:
If you
chose a layout where you can add a lot of
text, you can split that text into multiple
columns using the Columns slider at the
bottom of the Type panel. The Gutter
slider controls the amount of space be-
tween your columns—dragging to the
right increases the amount of space
between them.