Graphics Programs Reference
In-Depth Information
Step Five:
Let's set up a preset to make the left-
page images square and the right-page
images to be full page (like you see here).
Here's what you do: In the Left Pages
section, first choose Fixed Layout from
the pop-up menu at the top, then choose
1 Photo
from the pop-up menu below
that. Now, scroll down to the square
image page layout and click on it (as
shown here), then just leave the right
side at Fixed Layout 1 Photo, and full
page. Click the Save button, give your
preset a name, and this layout will now
be a preset choice for you. Sweet!
Step Six:
There's another option you need to
know about with these custom layout
presets. You get to choose how your
image appears once you drag it into place,
using the Zoom Photos To pop-up menu
in the Auto Layout Preset Editor dialog.
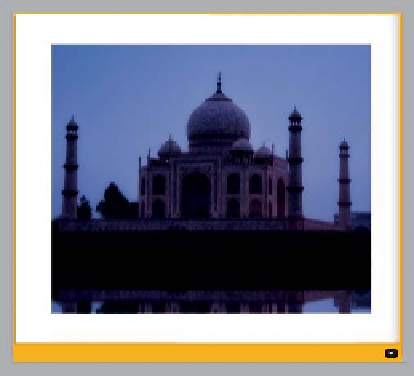
If you choose Fit, it scales your image
down to fit inside the frame. So, if you
choose Fit with a square layout like we
chose, the image will fit fully inside the
square (like the image shown here on the
top), but because it fits fully inside that
square, your photo won't actually appear
square. For that to happen, you'd have to
choose Fill (like you see on the bottom).
Luckily, you can always change this after
the fact, on a per-page basis, by Right-
clicking on a photo, and clicking on Zoom
Photo to Fill Cell in the pop-up menu to
turn it on or off.
Zoom Photos To: Fit
Zoom Photos To: Fill


