Graphics Programs Reference
In-Depth Information
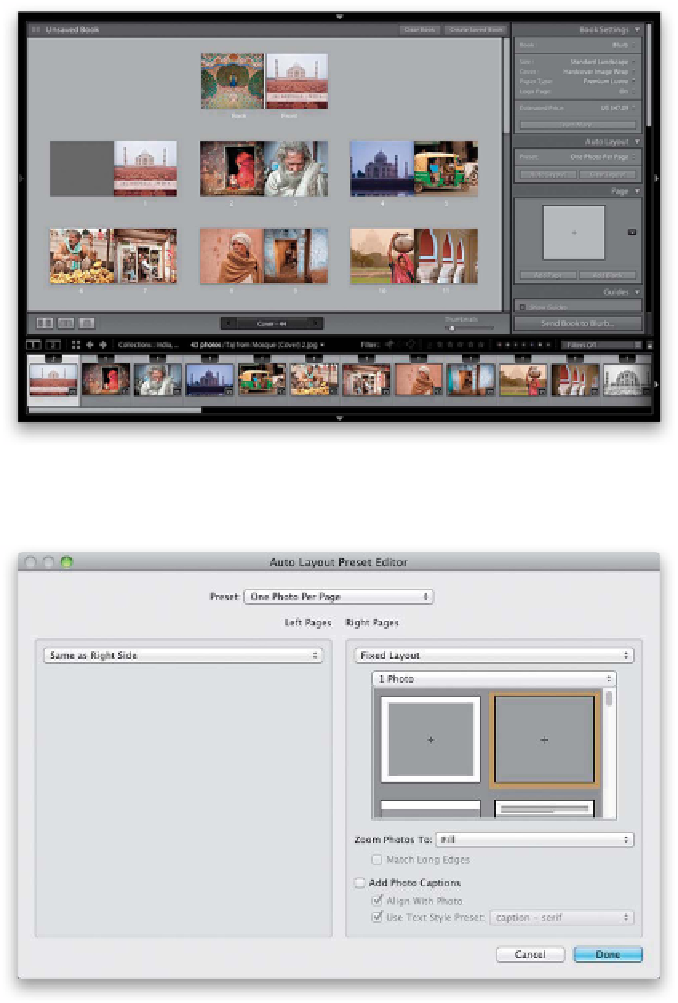
Step Three:
Now, so you have more room to see
how your topic is looking as you build it, I
recommend hiding the left side and top
panels (press
F5
on your keyboard to hide
the top and
F7
to hide the left side) to
make your Preview area much larger (as
seen here). Click the Auto Layout button
(shown circled here in red) and it auto-
matically puts one photo on each page (as
seen here). To see the rest of your pages,
just scroll down. If you arranged them in
the order you wanted them, then it's just a
matter of choosing the right size for each
image (if you don't want them all full-
page). If they're not in the order you'd like,
then drag-and-drop them on the topic
pages in the order you want.
Step Four:
Before we get to sorting, there is a very
cool feature that can help you with your
next topic. Remember when you chose one
of the built-in Auto Layout presets (back
in Step Two)? Well, you can create your own
custom presets and save them to that same
pop-up menu. That way, you can have it
auto fill exactly the way you want it (for
example, let's say you want the entire topic
to have square-shaped images—you can
set that up as a preset). To create a custom
preset, from the Auto Layout panel's Preset
pop-up menu, choose
Edit Auto Layout
Preset
and the Auto Layout Preset Editor
dialog appears. It's split into two parts:
the left pages and the right pages. Right
now it's set so whatever you choose on
the right page, the left page will do the
same (Same as Right Side), but let's cre-
ate our own from scratch.
TIP: Adding More Pages
If you didn't do the Auto Layout thing, you
can add more pages to your topic by going
to the Page panel (in the right side Panels
area) and clicking the Add Page button.
Continued