Graphics Programs Reference
In-Depth Information
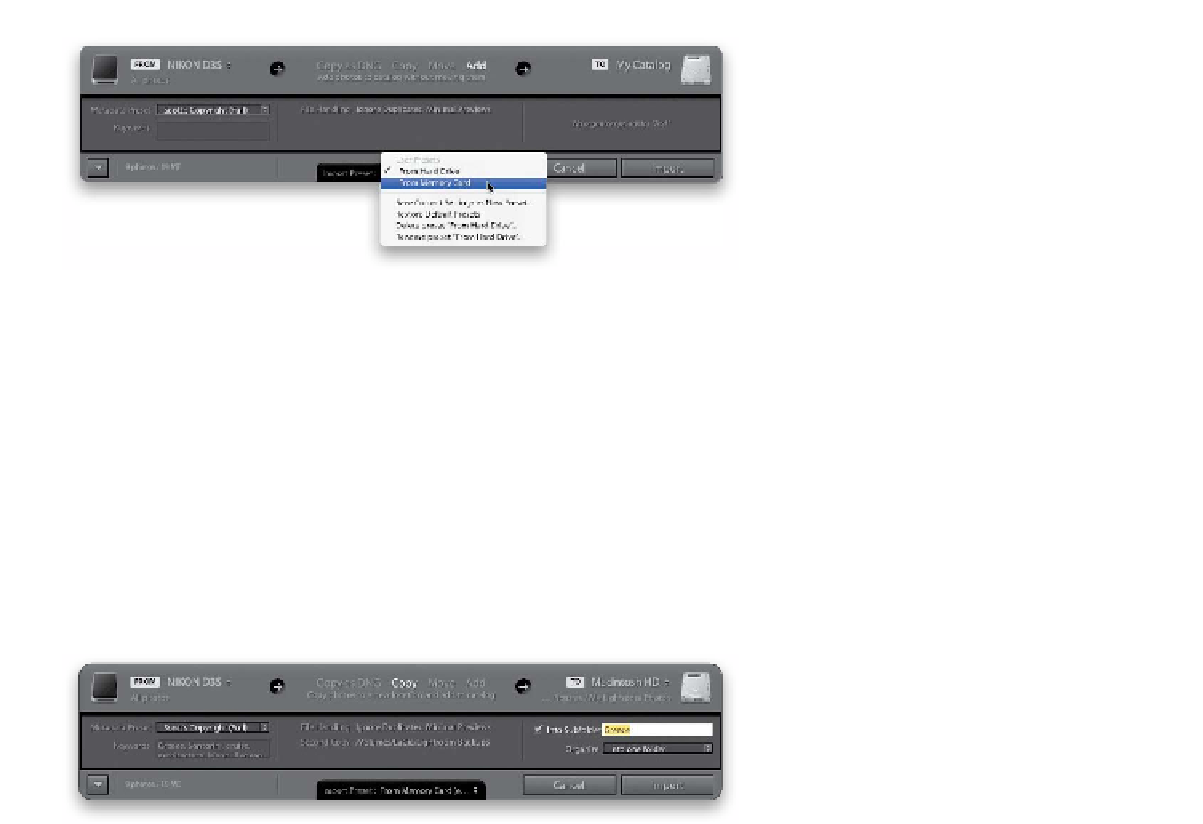
Step Three:
Click the Show Fewer Options button
(it's the up-facing arrow) in the bottom-
left corner of the Import window, and it
switches to the compact view (as seen here).
The beauty of this smaller window is: you
don't need to see all those panels, the grid,
and all that other stuff, because you've
already saved most of the info you'll need
to import your photos as a preset. So, from
now on, your Import window will appear
like this (in the compact view), and all you
have to do is choose your preset from the
pop-up menu at the bottom (as shown
here, where I'm choosing my From Memory
Card preset), and then enter just the few
bits of info that do change when you im-
port a new set of photos (see the next step).
Note:
You can return to the full-size
Import window anytime by clicking the
Show More Options button (the down-
facing arrow) in the bottom-left corner.
Step Four:
Across the top of the Minimal Import
window, you can see that same visual 1-2-3
roadmap we saw in the full-size Import
Window on page 5 of where your images
are coming from, what's going to happen
to them, and where they're going, complete
with arrows leading you from left to right.
The images here are (1) coming from your
card reader, (2) then they are being copied,
and (3) these copies are being stored in a
folder on your hard drive. In the middle
section, you can add any keywords that
would be specific to these images (which is
why I leave this field blank when I save my
Import presets. Otherwise, I'd see keywords
here from the previous import). Then, it
shows your preferences for file handing and
backing up a second copy of your images.
On the right, you can name the subfolder
these images are going to be saved into.
So, how does this save you time? Well, now
you only have to type in a few keywords,
give your subfolder a name, and click the
Import button. That's fast and easy!