Graphics Programs Reference
In-Depth Information
Step 18:
To get this image back to Lightroom,
you just do two things: (1) save the file
(press
Command-S [PC: Ctrl-S]
), and then
(2) close the image window. That's it! Now,
go back to Lightroom and you'll see that
your composited image is waiting there for
you, right beside your original image file.
TIP: Saving Your Layers
If you have multiple layers (like we did with
this image), and you save and close the doc-
ument without flattening it first, Lightroom
keeps all those layers intact (Lightroom
doesn't let you work in layers, though).
What you see looks like a flattened image,
but there is a trick that lets you reopen this
image in Photoshop with all the layers still
there. When you click on the layered image
in Lightroom and press
Command-E (PC:
Ctrl-E)
to open it in Photoshop, when that
little dialog appears asking you if you want
to edit a copy with your Lightroom changes,
without, or edit the original, you need to
choose Edit Original. It's the only time
I ever open the original.
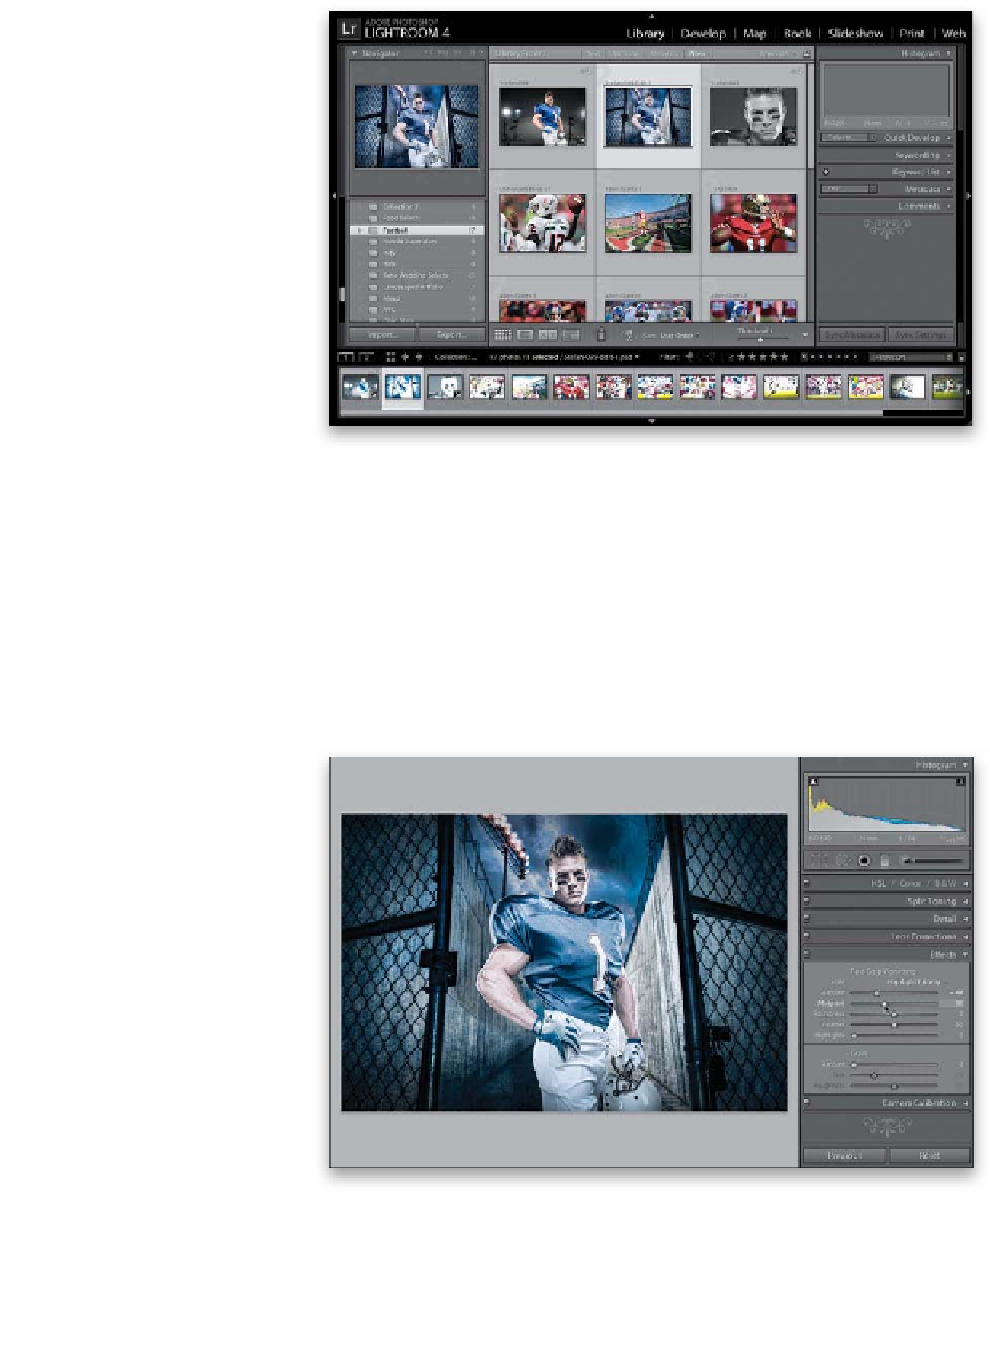
Step 19:
Now that your composited image is in
Lightroom, you can treat it like any other
image, and in this case, we want to add a
dark edge vignette. So, go to the Effects
panel in the Develop module, and under
Post-Crop Vignetting, set the Style pop-
up menu to
Highlight Priority
, drag the
Amount slider to the left (I took it over
to -44), and drag the Midpoint slider to
38 (as shown here) to finish off the effect.
There ya have it—from Lightroom to
Photoshop and back. The process is really
pretty seamless: you start in Lightroom,
do any tweaks you want there, but once
you get to a task Lightroom can't do, jump
over to Photoshop, do the task there, then
save and close to return to Lightroom.