Graphics Programs Reference
In-Depth Information
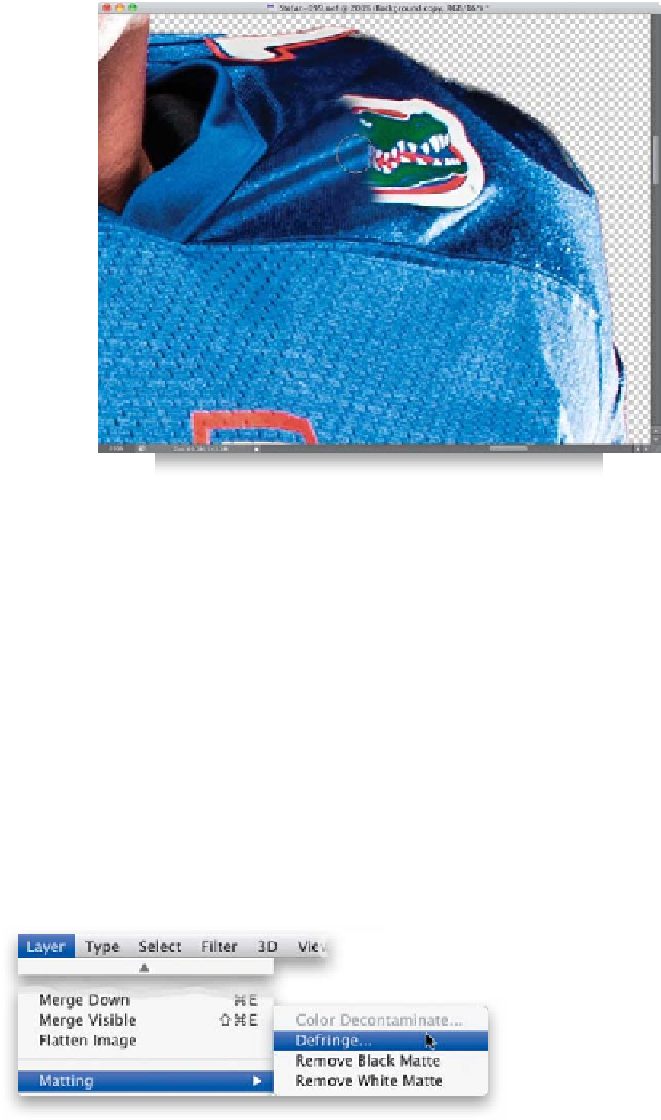
Step Nine:
Before we go on, we should probably
remove the Gators logo from the right
side of the football player's jersey, since he
doesn't actually play for the Gators. Get
the Clone Stamp tool
(S)
, Option-click
(PC: Alt-click) in a clean area near the logo
to sample it, and paint over the logo. Be
sure to Option-click often, so that you
don't pick up a repeating pattern.
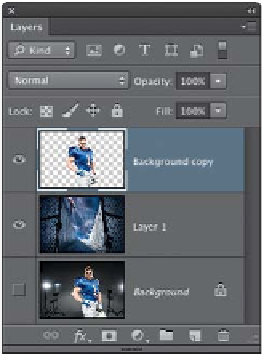
Step 10:
Now, go to the background image, switch
to the Move tool
(V)
, and drag-and-drop
the background image onto the football
player image. (
Note:
If your images are in
tabs, go under the Window menu, under
Arrange, and choose
Float All in Windows
.
I resized the background image by going
into Free Transform
[Command-T {PC:
Ctrl-T}]
, then pressed-and-held the Shift
key [to keep the size proportional], and
clicked-and-dragged a corner point inward.)
Then, click-and-drag the background image
layer below the selected football player
layer in the Layers panel (as seen here).
If you're thinking, “That doesn't look very
realistic…” that's because we're not done.
We haven't matched the color, created
shadows, or any of that stuff yet. We'll
start with matching the color, but first,
we need to deal with any edge fringe (a
thin white or black line that appears
around the outside edge of the selection).
So, click on the selected football player
layer to make it active (I also moved him
a bit to the left), then go under the Layer
menu, under Matting (at the bottom of
the menu), and choose
Defringe
. When
the dialog appears, leave it set at 1 pixel
and click OK. This does an amazing job
of removing that little bit of edge fringe.
TIP: Getting Thicker Hair
If the hair doesn't seem as thick and full as
it should, press
Command-J (PC: Ctrl-J)
to
duplicate the layer. It often works wonders.
Then just merge the two layers together by
pressing
Command-E (PC: Ctrl-E)
.
Continued