Graphics Programs Reference
In-Depth Information
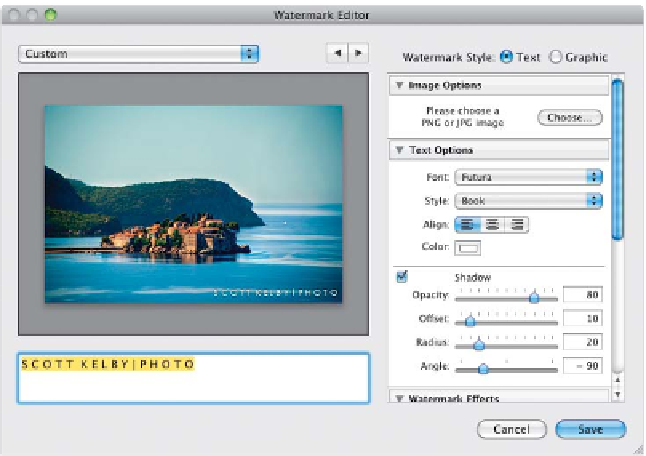
Step Three:
Type in the name of your studio in the tex t
field at the bottom left, then choose your
font in the Text Options section on the
right side of the dialog. In this case, I chose
Futura Book. (By the way, the little line that
separates SCOTT KELBY from PHOTO
is called a “pipe,” and you create one by
pressing Shift-Backslash.) Also, to put
some space between the letters, I pressed
the Spacebar after each one. You also can
choose the text alignment (left justified,
centered, or right justified) here, and you
can click on the Color swatch to choose a
font color. To change the size of your type,
scroll down to the Watermark Effects section,
where you'll find a Size slider (seen here) and
radio buttons to Fit your watermark to the
full width of your image, or Fill it at full size.
You can also move your cursor over the type
on the image preview and corner handles
appear—click-and-drag outward to scale the
text up, and inward to shrink it down. Here,
I moved it to the bottom-right corner. I'll
show you how to do that next.
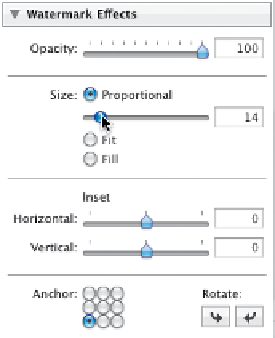
Step Four:
You get to choose the position of your
watermark in the Watermark Effects sec-
tion. At the bottom of the section, you'll
see an Anchor grid, which shows where you
can position your watermark. To move it
to the upper-left corner, click the upper-left
anchor point (as shown here). To move it
to the center of your image, click the center
anchor point, and so on. To the right
of that are two Rotate buttons if you want
to switch to a vertical watermark. Also,
back in Step Two, I mentioned there's
a way to offset your text from the sides
of your image—just drag the Horizontal
and Vertical Inset sliders (right above
the Anchor grid). When you move them,
little positioning guides will appear in
the preview window, so you can easily see
where your text will be positioned. Lastly,
the Opacity slider at the top of the section
controls how see-through your water-
mark will be.
Continued