Graphics Programs Reference
In-Depth Information
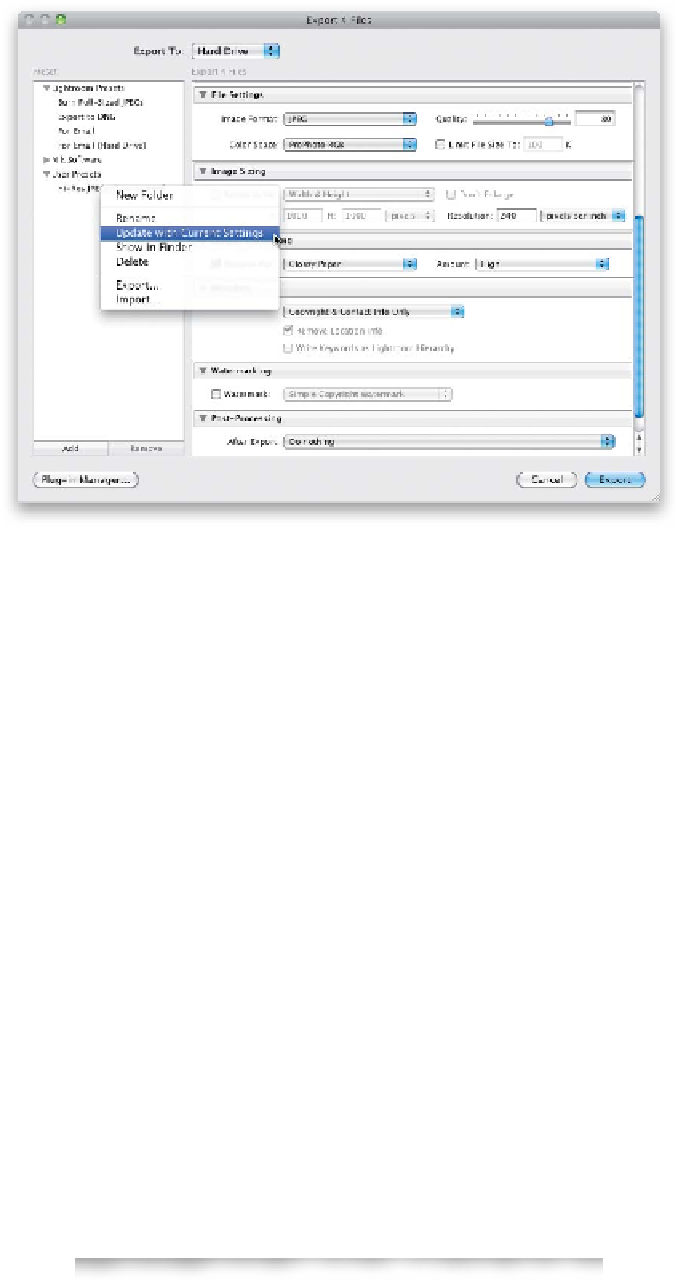
Step 15:
Once you click the Create button, your
preset is added to the Preset section
(on the lef t side of the dialog , under User
Presets), and from now on you're just one
click away from exporting JPEGs your way.
If you decide you want to make a change
to your preset (as I did in this case, where
I changed the Color Space to ProPhoto
RGB, and I turned the Watermark check-
box off), you can update it with your
current settings by Right-clicking on your
preset, and from the pop-up menu that
appears, choosing
Update with Current
Settings
(as shown here).
While you're here, you might want to
create a second custom preset—one for
exporting JPEGs for use in online web
galleries. To do that, you might lower the
Image Sizing Resolution setting to 72 ppi,
change your sharpening to Screen, set
Amount to Standard, and you might
want to turn the Watermark checkbox
back on to help prevent misuse of your
images. Then you'd click the Add button
to create a new preset named something
like Export JPEG for Web.
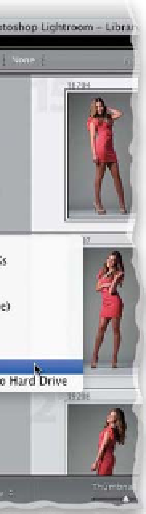
Step 16:
Now that you've created your own
presets, you can save time and skip the
whole Export dialog thing altogether by
just selecting the photos you want to
export, then going under Lightroom's
File menu, under
Export with Preset
,
and choosing the export preset you
want (in this example, I'm choosing the
Export JPEG for Web preset). When you
choose it this way, it just goes and
exports the photos with no further
input from you. Sweet!