Graphics Programs Reference
In-Depth Information
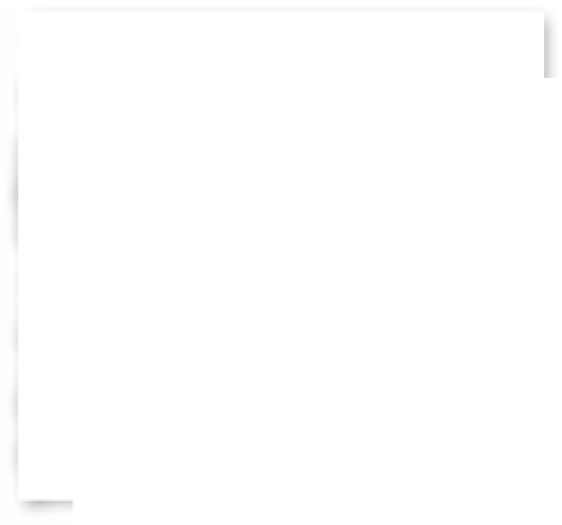
Step Three:
If your color problems don't seem to
be in the shadows, then you'll use the Red,
Green, and Blue Primary sliders to adjust
the Hue and Saturation (the sliders that
appear below each color). Let's say your
camera produces photos that have a bit
of a red cast to them. You'd drag the Red
Primary Hue slider away from red, and if
you needed to reduce the overall satura-
tion of red in your photo, you'd drag the
Red Primary Saturation slider to the left
until the color looked neutral (by neutral,
I mean the grays should look really gray,
not reddish gray).
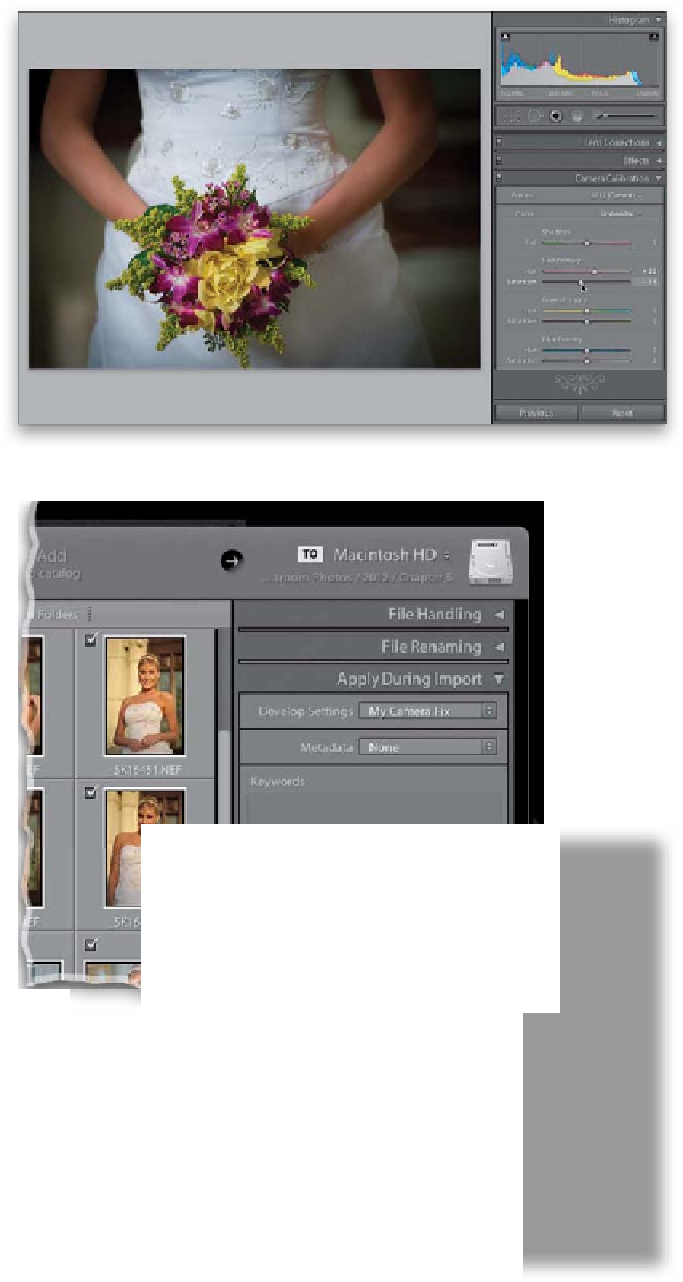
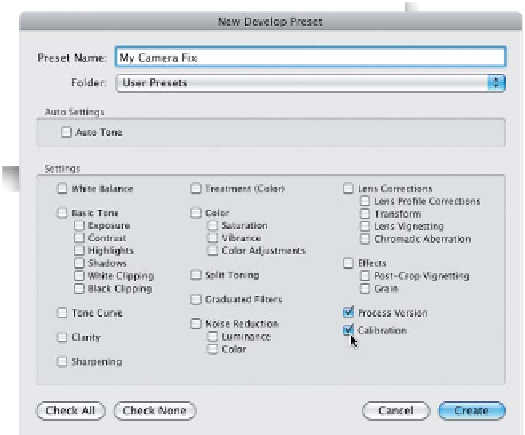
Step Four:
When you're happy with your changes,
press
Command-Shift-N (PC: Ctrl-
Shift-N)
to bring up the New Develop
Preset dialog. Name your preset, click the
Check None button, then turn on the
Calibration and Process Version check-
boxes, and click Create. Now, not only
can you apply this preset in the Develop
module and Quick Develop panel, you
can have it applied to all the photos you
import from that camera by choosing it
from the Develop Settings pop-up menu
in the Import window (also shown here).
Note:
If you want to tackle the full camera
calibration process (which is not for wusses
by the way, as it's got quite a few steps and
hoops you have to jump through), go to
www.LightroomKillerTips.com
and in
the search field, enter “Camera Calibration”
and you'll find a link to Matt Kloskowski's
video (which he created for me as a sup-
plement to this book), which covers the
entire process in detail.