Graphics Programs Reference
In-Depth Information
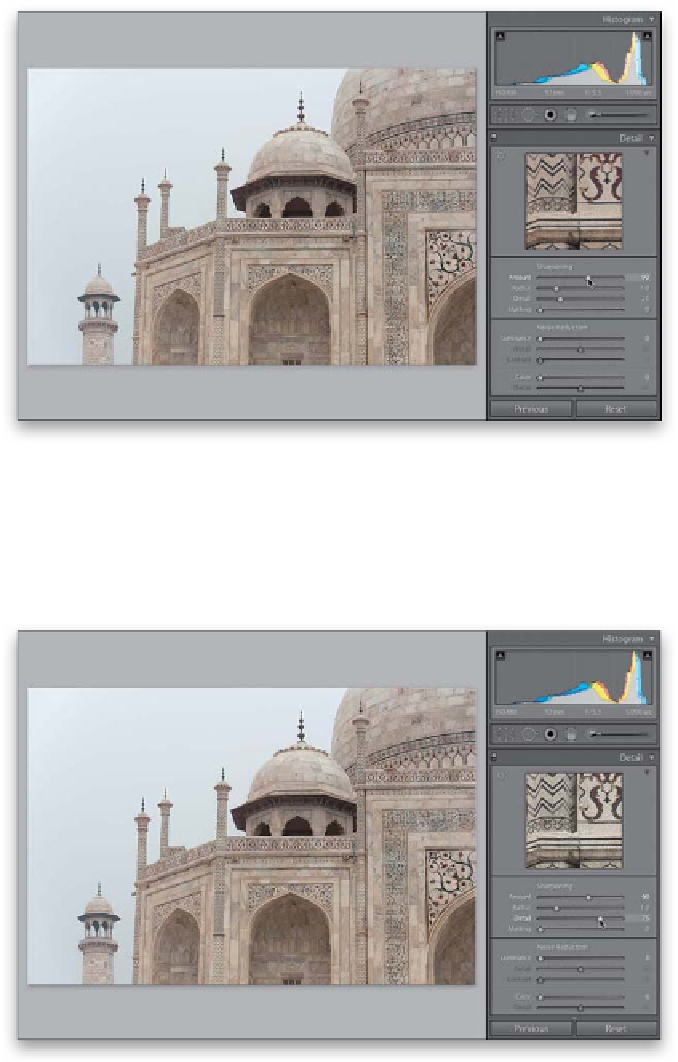
Step Three:
The Amount slider does just what you
think it would—it controls the amount
of sharpening applied to your photo. Here
I increased the Amount to 90, and while
the photo in the main Preview area doesn't
look that much different, the Detail panel's
preview looks much sharper (which is why
it's so important to use this zoomed in
preview). The Radius slider determines how
many pixels out from the edge the sharpen-
ing will affect, and personally I leave this set
at 1 (as seen here), but if I really need some
mega sharpening I'll bump it up to 2.
TIP: Toggling Off the Sharpening
If you want to temporarily toggle off the
changes you've made in the Detail panel,
just click on the little switch on the far left
of the Detail panel's header.
Step Four:
One of the downsides of traditional sharp-
ening in Photoshop is that if you apply a lot
of sharpening, you'll start to get little halos
around the edge areas within your photos
(it looks like somebody traced around the
edges with a small marker), but luckily, here
in Lightroom, the Detail slider acts as kind
of a halo prevention control. At its default
setting of 25, it's doing quite a bit of halo
prevention, which works well for most pho-
tos (and is why it's the default setting), but
for images that can take a lot of sharpening
(like sweeping landscape shots, architectural
images, and images with lots of sharply de-
fined edges, like the one you see here), you
would raise the Detail slider up to around
75, as shown here (which kind of takes the
protection off quite a bit and gives you a
more punchy sharpening). If you raise the
Detail slider to 100, it makes your sharpen-
ing appear very much like the Unsharp
Mask filter in Photoshop (that's not a bad
thing, but it has no halo avoidance, so you
can't apply as much sharpening).
Continued