Graphics Programs Reference
In-Depth Information
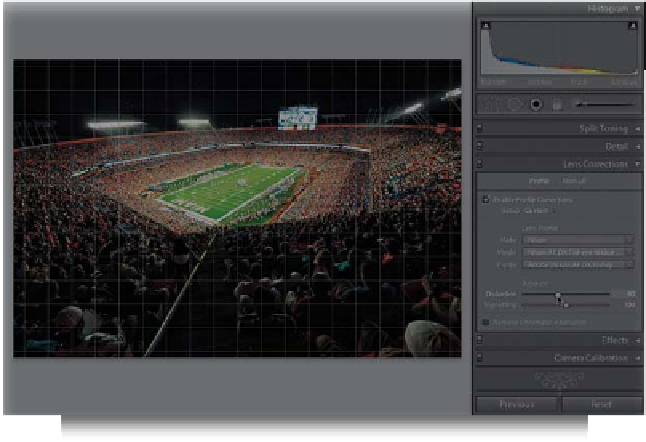
Step Three:
You can t weak the automatic correc-
tion a bit by using the Amount sliders
at the bottom of the panel. For example,
if you thought it removed too much of
the distortion, you can drag the Distor-
tion slider to the left a little (as shown
here), and it lessens the amount of recti-
linear correction it applied to the photo
(notice how the foreground area has a
little bit of curve back in it, and there's
less distortion around the far-left and
far-right sides?). Having this simple slider
to tweak the automatic result is pretty
handy (and you'll probably use it more
than you think).
Step Four:
Now, let's look at another photo. In this
case, the image looks bloated (look at
the building in the middle—it's bowed),
and look how the columns look like
they're leaning back. When you turn
on the checkbox for Enable Profile Cor-
rections, you'll find out that nothing hap-
pens, and where it would normally list
my lens' make and model, it reads “None.”
That's because, for whatever reason, this
image doesn't have any embedded EXIF
data (maybe the image was copied-and-
pasted into a blank document, or maybe
when it was exported from Lightroom,
the Minimize Embedded Metadata check-
box was turned on, so it stripped out
that EXIF data, or maybe Lightroom just
doesn't have this lens profile in its data-
base). Whatever the reason, you need
to help it out and tell it which brand
of lens was used, and which lens it was
taken with, and then it can apply an
automatic correction.
Continued