Graphics Programs Reference
In-Depth Information
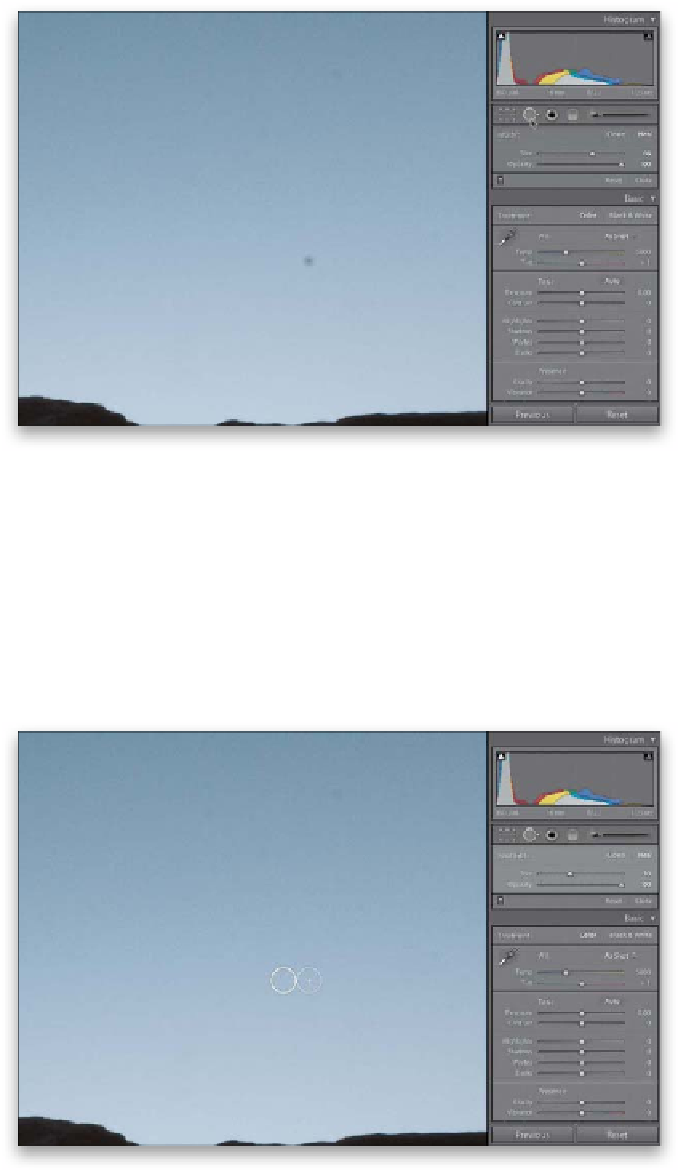
Step Three:
Click on the Spot Removal tool in the
toolbox right below the histogram at the
top of the right side Panels area, and the
options for this tool will pop down below
it. There are two choices for how this tool
fixes your spots—Clone or Heal—but you
get the best results by leaving it set on Heal.
The only reason ever to switch it to Clone
is if the spot you're trying to remove is
either on, or very near, the edge of some-
thing (like the edge of a building, or a car,
etc.), or it's near the outside edge of the
image itself. The reason is the Heal func-
tion doesn't like edges and it will often
smudge, rather than hide, the spot, so if
that happens, I switch to Clone and try
again. Other than that, I'm a healer (so
to speak).
Step Four:
Now, take the Spot Removal tool and
move it directly over the spot you want
to remove. Use the Size slider to make
the round brush cursor just a little larger
than the spot itself. You can also use the
Left and Right Bracket keys, found to the
immediate right of the letter P on your
keyboard, to change the size. Each time
you press the
Right Bracket (]) key
, it
makes the circle larger; the
Left Bracket
([) key
makes it smaller. Now don't paint
with this tool, just click it once and it will
quickly search for a clean nearby area, then
it samples that area to make your fix (and
it's pretty darn clever about choosing the
right area—it's not perfect, but it does a
surprisingly good job).