Graphics Programs Reference
In-Depth Information
When it comes to detailed retouching, I generally jump over to Adobe Photoshop,
but if you just need to do a quick retouch, it's amazing how many things you can
do right here in Lightroom using the Adjustment Brush and the Spot Removal
tool. Here's a quick retouch using just those two tools:
Portraits
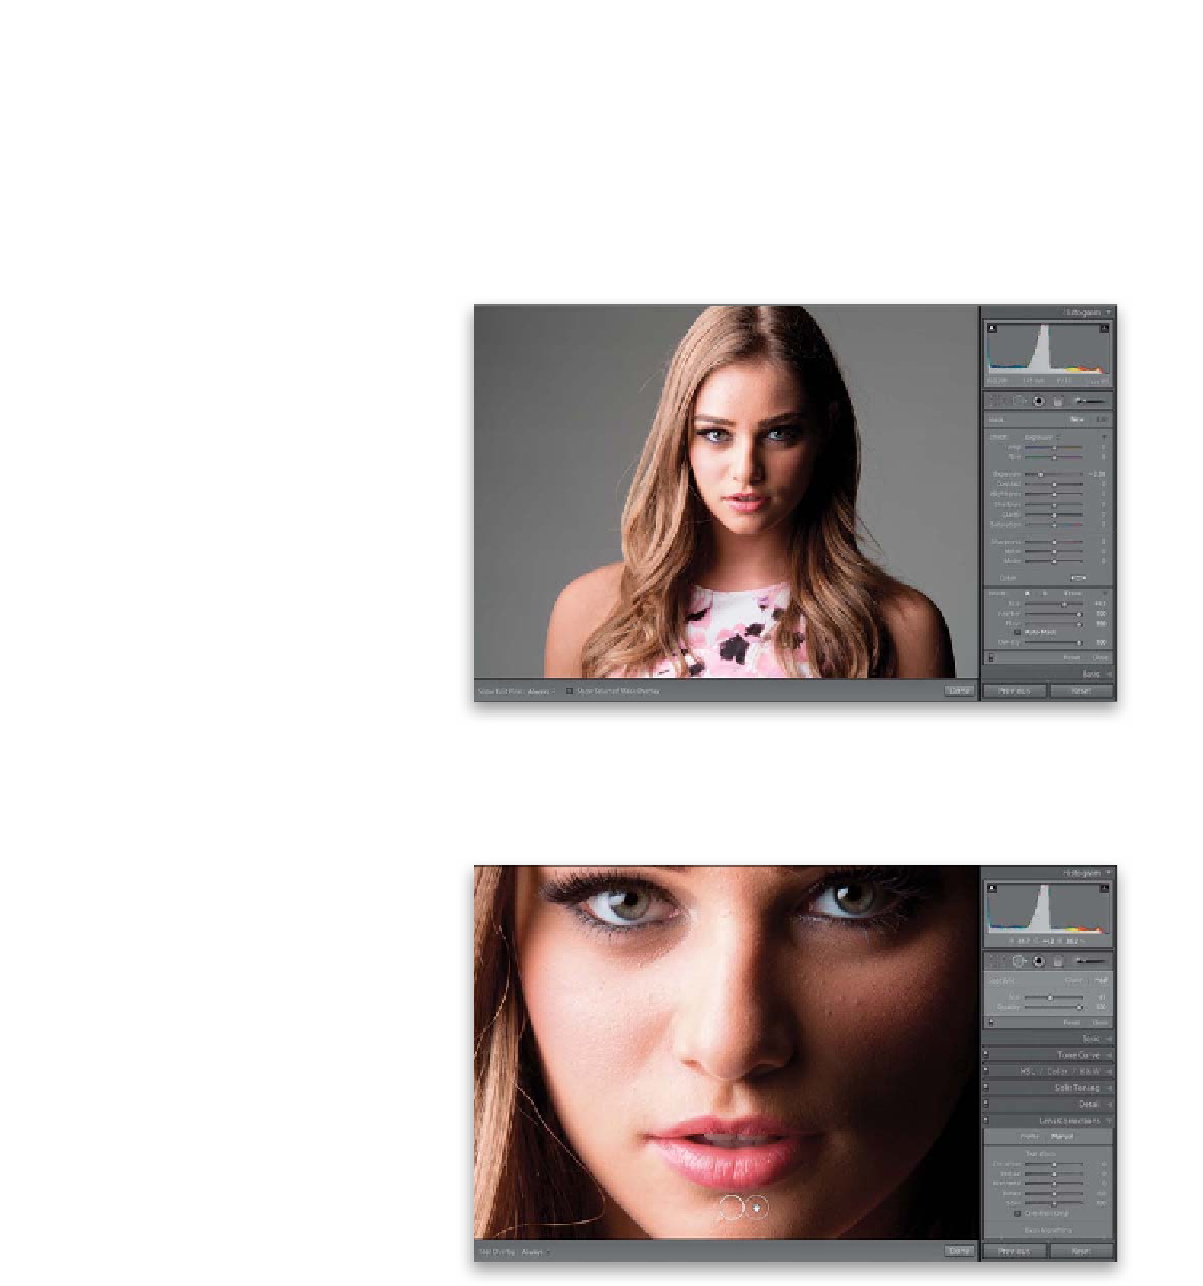
Step One:
Here's the image we're going to retouch,
and here are the things we're going to do:
(1) remove any major blemishes , (2) sof ten
her skin, (3) brighten the whites of her eyes,
(4) add contrast to her eyes, (5) add shine
to her lips, (6) add highlights to her hair,
and (7) do some dodging and burning to
sculpt her face. Although we're seeing the
full image here, for retouching, it's best to
zoom in quite a bit. So, in the next step, go
ahead and zoom in nice and tight to start
our retouch.
Step Two:
Here, I've zoomed in to a 1:1 view, so we
can really see what we're doing (just click
on 1:1 at the top right of the Navigator
panel, at the top of the left side Panels
area). Click on the Spot Removal tool (in the
toolbox near the top of the right side Panels
area or just press the letter
Q
). This tool
works with just a single click, but you don't
want to retouch any more than is necessary,
so make the Brush Size of the Spot Removal
tool just a little bit larger than the blemish
you're going to remove. Move your brush
cursor over the blemish and then just click
once. A second circle will appear showing
you from where it sampled a clean skin
texture. Of course, it's not always 100% right,
and if for some reason it chose a bad area
of skin to sample from, just click on that
second circle, drag it to a clean patch, and it
will update your blemish removal (as shown
here). Go ahead and remove any blemishes
now using this tool.