Graphics Programs Reference
In-Depth Information
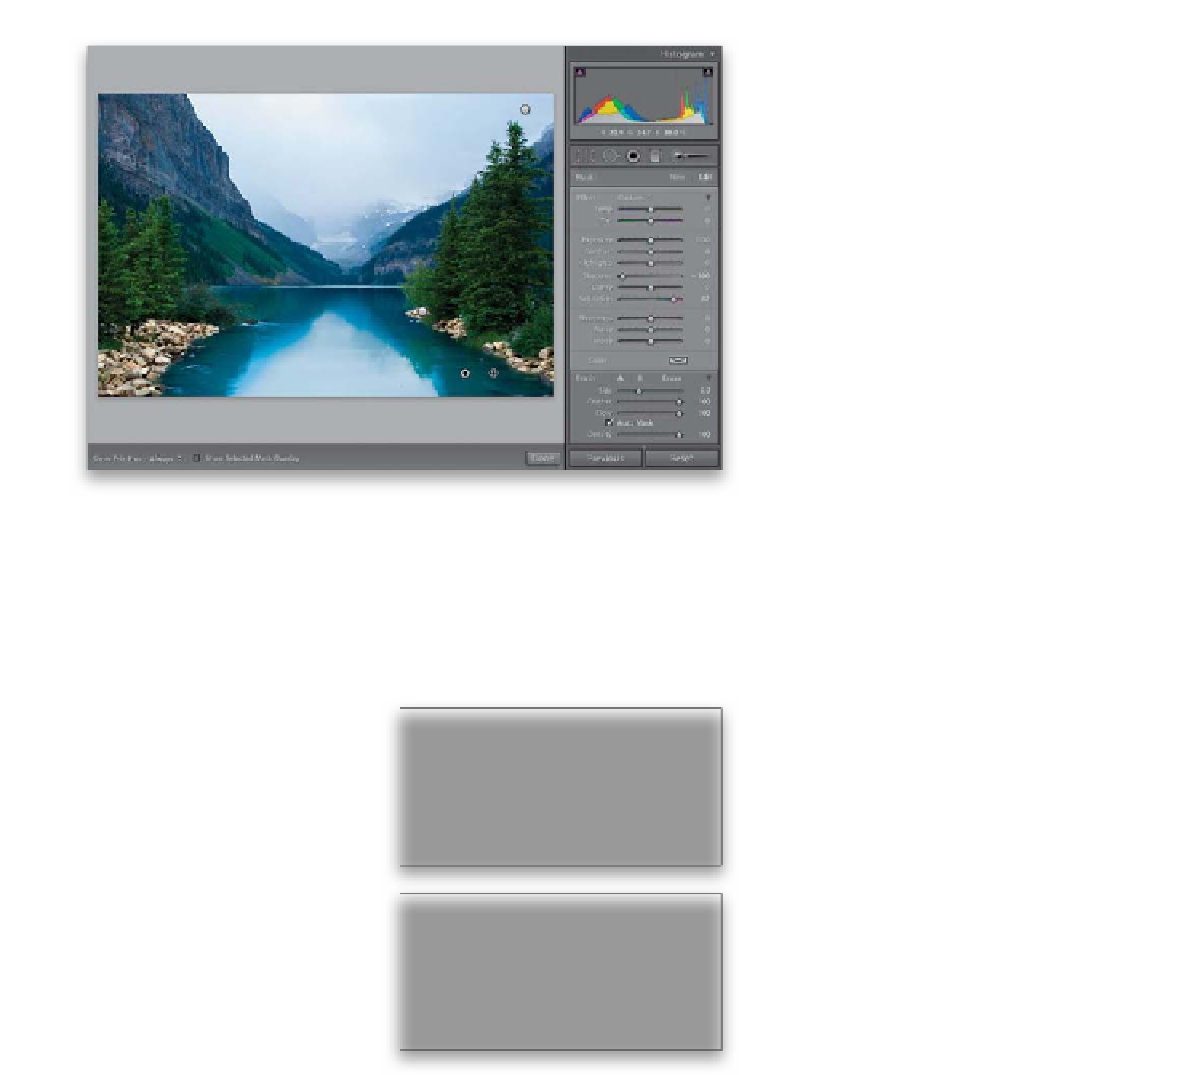
Step 11:
Another nice feature of the Adjustment
Brush is that you can make onscreen inter-
active adjustments, kind of like you do with
the Targeted Adjustment tool (which you
learned about in Chapter 5). So, for exam-
ple, to adjust the Saturation and Shadows
amounts for the water, just move your
cursor directly over the Edit Pin on the
water, and your cursor changes into a bar
with two horizontal arrows (shown circled
here in red). That cursor lets you know that
you can now click-and-drag left or right to
make changes, just like you were dragging
the sliders themselves (try it—click-and-
drag to the right to increase the Saturation
amount and decrease the Shadows). Now,
if this is just the same as moving a slider,
what's the advantage of using it over actu-
ally using a slider? If you used multiple
sliders (like we did here), it moves them all
at once (in the direction you dragged them
originally) when you do it this way.
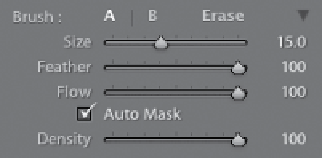
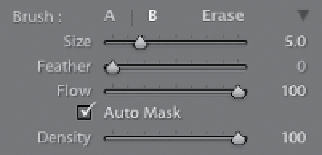
Step 12:
There are a set of brush options at the
bottom of the panel. The Size slider changes
the brush size (but it's faster to use the
Bracket key shortcuts I mentioned earlier).
The Feather slider controls how soft the
brush edges are—the higher the number,
the softer the brush (I paint with a soft
brush about 90% of the time). For a hard-
edged brush, lower the Feather slider to 0.
The Flow slider controls the amount of
paint that comes out of the brush (I usu-
ally leave the Flow set at 100). Also, you get
two custom brush settings—Brush A and
Brush B—so you could set one up to be a
large, soft-edged brush (shown at the top),
and the other to be a small, hard-edged
brush (shown at the bottom). It's totally
up to you—just click on the letter, choose
your settings, and it remembers them, so
next time you can just click on the letter.
Continued