Graphics Programs Reference
In-Depth Information
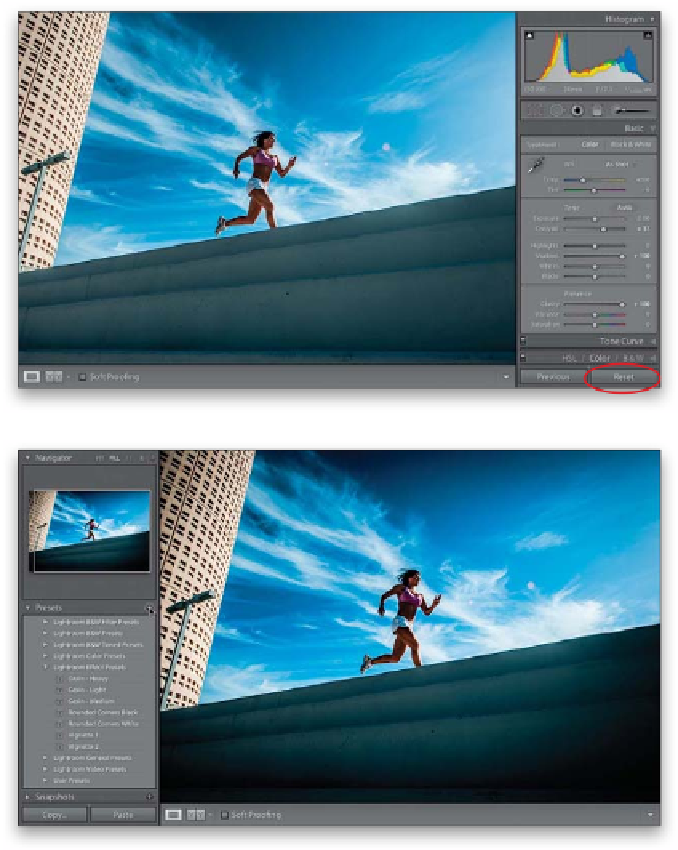
Step Five:
Now, of course you can use any built-in
preset as a starting place to build your
own preset, but let's just start from scratch
here. Click the Reset button at the bot-
tom of the right side Panels area (shown
circled here in red) to reset our photo to
how it looked when we started. Now we'll
create our own saturated, contrasty look
preset from scratch: Increase the Contrast
amount to +31, increase the Shadows to
+10 0 , a n d t h e n s e t t h e C l a r it y t o +10 0 .
We're not finished yet ('cause this looks
kinda lame).
Step Six:
Now go the Tone Curve panel (in the right
side Panels area), choose
Strong Contrast
from the Point Curve pop-up menu, then
go to the Effects panel, and drag the Post-
Crop Vignetting Amount slider to -16 to
darken the edges and complete the effect
(that looks better. Kind of contrasty, with
snappy color). Okay, now that we've got
our look, let's save it as a preset. Go back
to the Presets panel and click on the +
(plus sign) button on the right side of the
Presets panel header to bring up the New
Develop Preset dialog (shown here). Give
your new preset a name (I named mine
“Saturated Contrast Look”), click the Check
None button at the bottom of the dialog
(to turn off f the all the checkboxes), then
turn on the checkboxes beside all the
settings you edited to create this preset
(as seen here). Now, click the Create but-
ton to save all the edits you just made
as your own custom preset, which will
appear under the User Presets collection
in the Presets panel.
Note:
To delete a user preset, just click
on the preset, then click on the - (minus
sign) button, which will appear to the
left of the + button on the right side of
the Presets panel header.