Graphics Programs Reference
In-Depth Information
Lightroom comes with a number of built-in Develop module presets that you
can apply to any photo with just one click. These are found in the Presets panel
over in the left side Panels area, where you'll find eight different collections of
presets: seven built-in collections put there by Adobe and a User Presets collection
(that one's empty for now, because this is where you store the ones you create on
your own). These are huge time savers, so take just minute or two and learn how
to put them to use (and how to create your own).
Step One:
We'll start by looking at how to use the
built-in presets, then we'll create one of our
own, and apply it in two different places.
First, let's look at the built-in presets by
going to the Presets panel (found in the left
side Panels area). There are seven built-in
Lightroom collections (and a User Presets
collection, where you can save and store
your own presets). When you look inside
each collection, you'll see that Adobe named
these built-in presets by starting each name
with the type of preset it is (for example,
within the Lightroom Effect presets, you'll
find Grain. That's the type of preset, then
it says, “Heavy,” “Light,” or “Medium”).
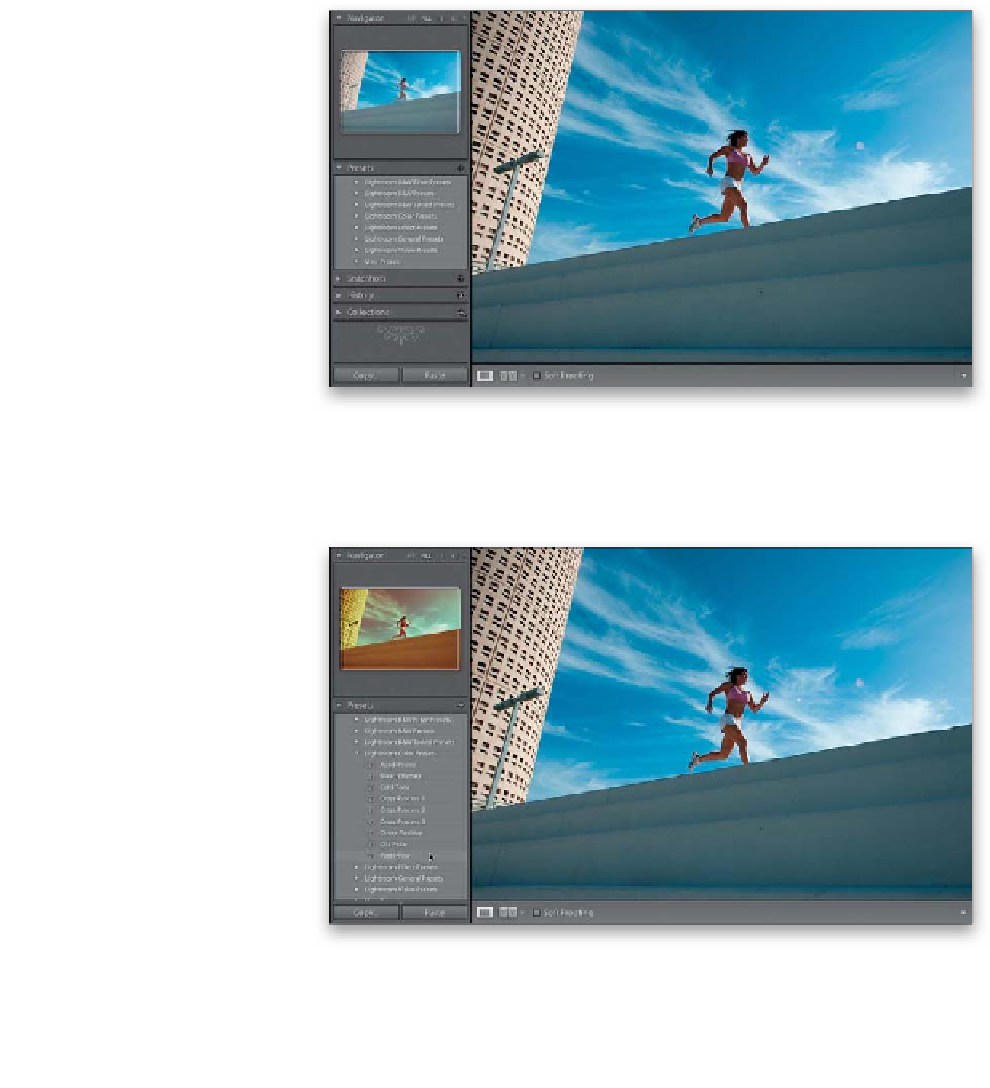
Step Two:
You can see a preview of how any of these
presets will look, even before you apply
them, by simply hovering your cursor
over the presets in the Presets panel.
A preview will appear above the Presets
panel in the Navigator panel (as shown
here, where I'm hovering over a Color
preset called Yesteryear, and you can
see a preview of how that color effect
would look applied to my photo, up in
the Navigator panel, at the top of the
left side Panels area).