Graphics Programs Reference
In-Depth Information
Remember the beauty headshot image we edited in Chapter 5? Well, what if you wanted
to see a version in black and white, and maybe a version with a color tint, and then
a real contrasty version, and then maybe a version that was cropped differently?
Well, what might keep you from doing that is having to duplicate a high-resolution file
each time you wanted to try a different look, because it would eat up hard drive space
and RAM like nobody's business. But luckily, you can create virtual copies, which
don't take up space and allow you to try different looks without the overhead.
Step One:
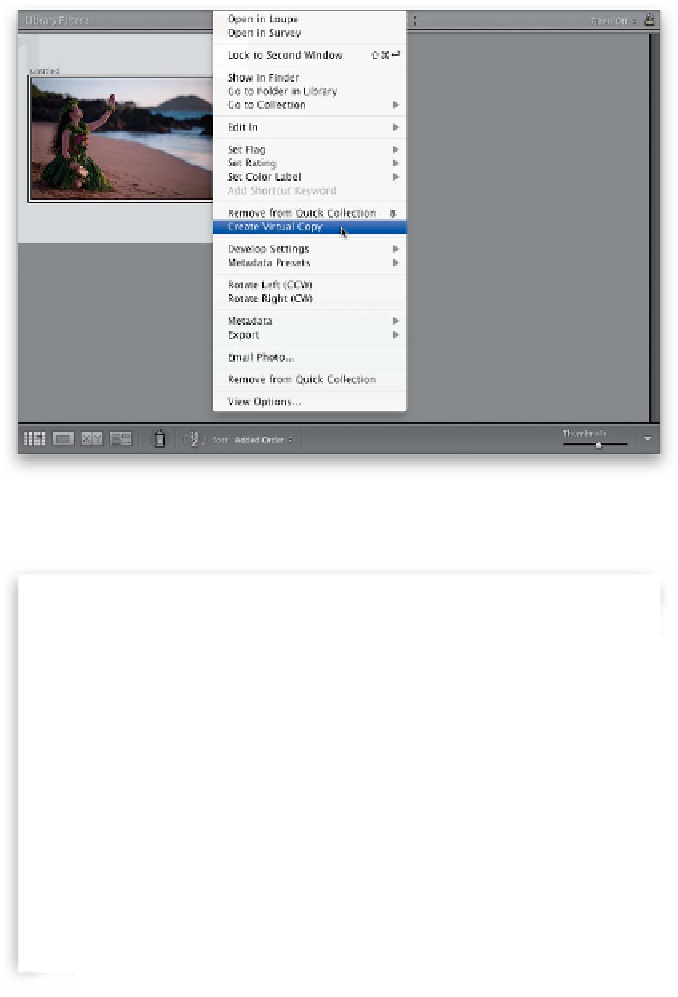
You create a vir tual copy by just Right-
clicking on the original photo and then
choosing
Create Virtual Copy
from the
pop-up menu (as shown here), or using
the keyboard shortcut
Command-'
(apos-
trophe;
PC: Ctrl-'
). These virtual copies
look and act the same as your original
photo, and you can edit them just as
you would your original, but here's the
difference: it's not a real file, it's just a set
of instructions, so it doesn't add any real
file size. That way, you can have as many
of these virtual copies as you want, and
experiment to your heart's content with-
out filling up your hard disk.
Step Two:
When you create a virtual copy, you'll
know which version is the copy because
the virtual copies have a curled page
icon in the lower-left corner of the image
thumb
nail (circled in red here) in both
the Grid view and in the Filmstrip. So now,
go ahead and tweak this virtual copy in
the Develop module any way you want
(here, I increased the Clarity and added
an edge vignette using the Effects panel.
See page 172 in Chapter 5 for how to add
a vignette), and when you return to the
Grid view, you'll see the original and the
edited virtual copy (as seen here).
Continued


