Graphics Programs Reference
In-Depth Information
In the first white balance project in Chapter 5, I ended with a before and after,
but I didn't get a chance to show you how. I love the way Lightroom handles
the whole before and after process because it gives you a lot of flexibility to
see these the way you want to see them. Here's how:
and Afters
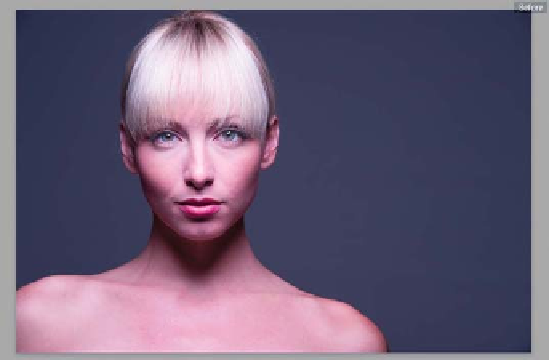
Step One:
Any time you're working in the Develop
module and you want to see what your
image looked like before you started tweak-
ing it (the “before” image), just press the
\ (backslash) key
on your keyboard. You'll
see the word “Before” appear in the upper-
right corner of your image, as seen here. In
this image (from the same series we used for
white balance), you're seeing the overly cool
original image. This is probably the Before
view I use the most in my own workflow.
To return to your Af ter image, press the
\ key again (it doesn't say “After;” the Before
just goes away).
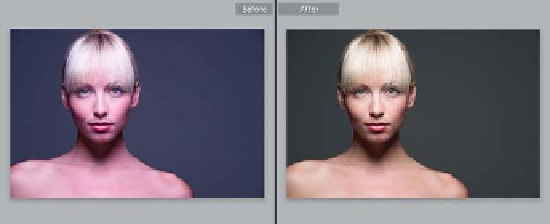
Step Two:
To see a side-by-side Before and Af ter view
(shown here on top), press the letter
Y
on
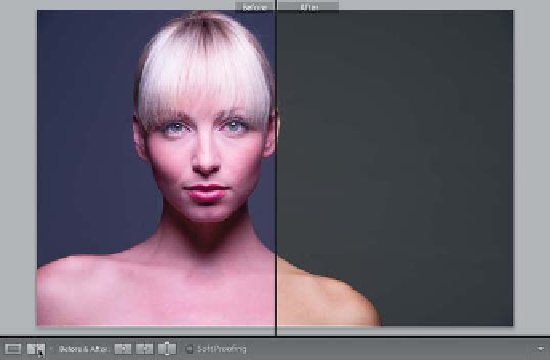
your keyboard. If you prefer a split screen
view, then click the little Before and After
Views button in the bottom-left corner of
the toolbar under your preview (as shown
here on the bottom. If you don't see the
toolbar for some reason, press the letter
T
to make it visible). If you click the Y button
again, instead of a side-by-side before and
after, you get a top/bottom before and after.
Click it again, and you get a top/bottom
split screen before and after. To return
to Loupe view, just press the letter
D
on
your keyboard.
Note:
Just so you know, our model here,
Hope, is wearing an off-the-shoulder top, so
we could shoot this beauty-style headshot.
I mention this so you don't think she's
(ahem) less than clothed. Come on, you
know you were thinking it!