Graphics Programs Reference
In-Depth Information
Step Five:
We're going for a high-contrast black and
white, so we can add more contrast by
clicking-and-dragging the Clarity slider
quite a bit to the right (here I dragged to
+53), which gives the midtones much more
contrast and makes the overall photo have
more punch and crispness.
TIP: Finding Out Which Shots
Make Great B&W Images
Go to a collection, press
Command-A
(PC: Ctrl-A)
to select all of the photos,
then press the letter
V
to temporar-
ily convert them all to black and white,
and now you can see which ones (if any)
would make great B&W images. Press
Command-D (PC: Ctrl-D)
to Deselect all
the photos. When you see a great B&W
candidate, click on it, then press
P
to flag
it as a Pick. When you're done, select all
of the photos again and press V to return
them to full color. Now all the photos that
you think would make great B&W images
are tagged with a Picks flag. Pretty handy.
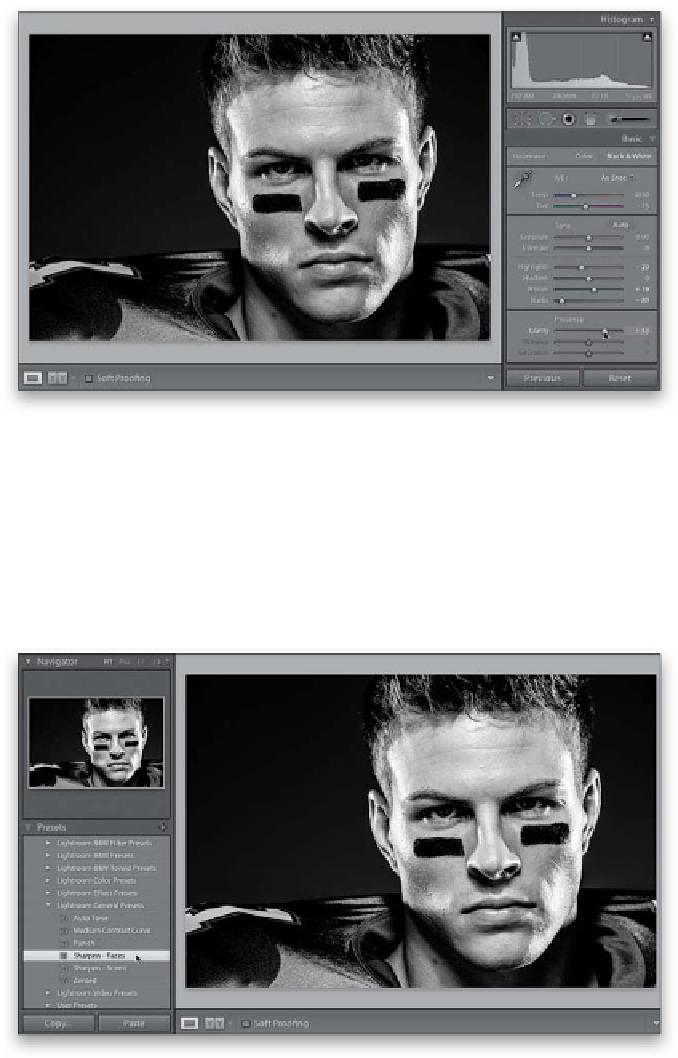
Step Six:
The final step is to add some sharpening.
Since this is a portrait, the easiest thing
to do is to go over to the left side Panels
area, and in the Presets panel, under
the Lightroom General Presets, choose
Sharpen - Faces (as shown here) to apply
a nice amount of sharpening for portraits.
By the way, if that's not enough sharpen-
ing, try the next preset down (which is
really for landscape shots, and is called
Sharpen-Scenic, but it's worth trying). So
that's it. It's not that much different
from adjusting a color photo, is it? Now,
I didn't want to tell you this earlier, because
I wanted you to learn this technique, but
there's a built-in preset that pretty much
does all this for you. Click on the Reset
button at the bottom right to reset your
photo to the original color image, then go
to the Presets panel, and under Lightroom
B&W Presets, click on B&W Look 3. Don't
hate the playa. Hate the game.