Graphics Programs Reference
In-Depth Information
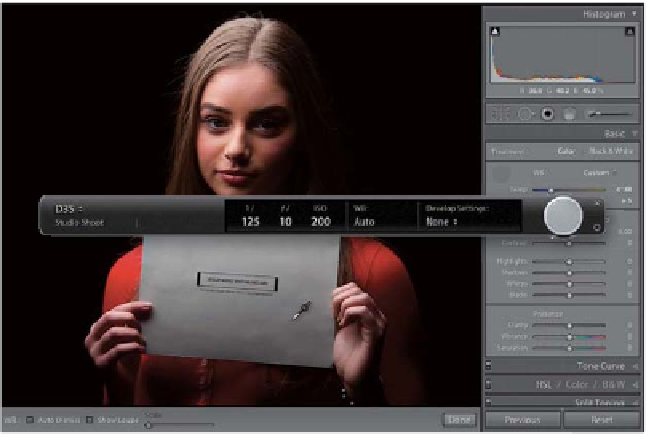
Step Three:
When the photo with the gray card
appears in Lightroom, get the White
Balance Selector tool
(W)
from the top
of the Develop module's Basic panel,
and click it once on the gray card in the
photo (as shown here). That's it—your
white balance is now properly set for
this photo. Now, we're going to take
that white balance setting and use it to
automatically fix the rest of the photos
as they're imported.
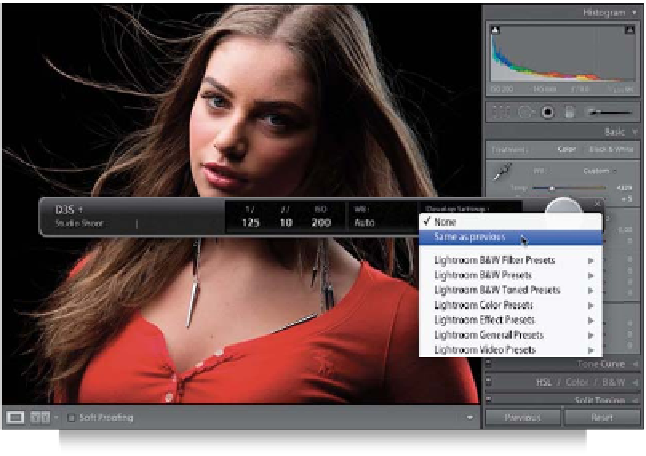
Step Four:
Go to the Tethered Capture window
(press
Command-T [PC: Ctrl-T]
if it's
no longer visible) and on the right side,
from the Develop Settings pop-up menu,
choose
Same as Previous
. That's it—now
you can take the gray card out of the scene
(or get it back f from your subject, who's
probably tired of holding it by now), and
you can go back to shooting. As the next
photos you shoot come into Lightroom,
they will have that custom white balance
you set to the first image applied to the
rest of them automatically. So, now not
only will you see the proper white balance
for the rest of the shoot, that's just another
thing you don't have to mess with in post-
production afterwards. Again, a big thanks
to my publisher, Peachpit Press, for allow-
ing me to include this gray card in the
book for you.