Graphics Programs Reference
In-Depth Information
Step 11:
Now, what you're going to do is use
Lightroom's Auto Sync feature, which takes
whatever effects you apply to one image
and applies them to any other selected
images (or even a video clip, in our case).
Give this is a try: Down in the Filmstrip, click
on your still image, then Command-click
(PC: Ctrl-click) on your video clip, so they're
both selected. At the bottom of the right
side Panels area, make sure the Auto Sync
switch is turned on (it's shown circled here
in red). Now, you can tweak the White
Balance, Exposure, Contrast, Vibrance, etc.
You can use the Camera Calibration panel,
make it black and white, add a duotone
or split-tone effect, use the Tone Curve—
basically, have a ball—and those changes
are automatically applied to your selected
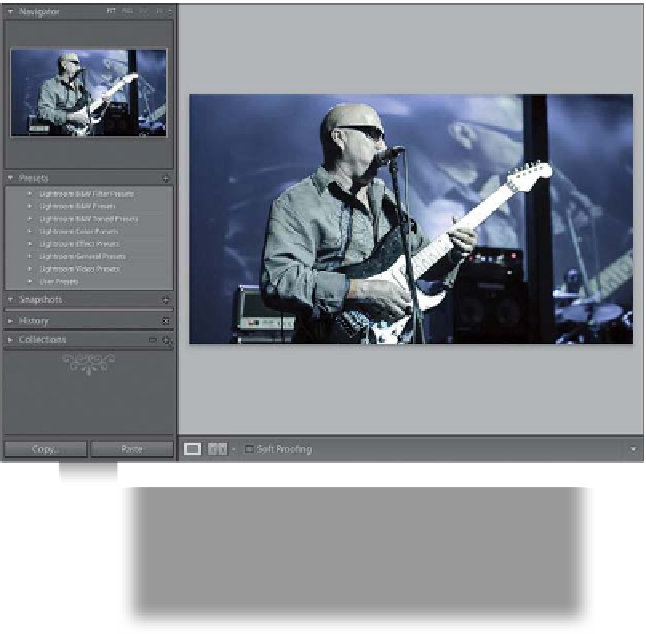
video, as well. Not too shabby, eh? Here,
I decreased the Temp and Tint to -40,
decreased the Contrast to -20, and de-
creased the Vibrance and Saturation to
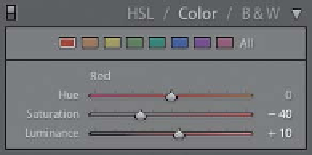
-30. Then, I went to the Color panel (in the
HSL/Color/B&W panel), decreased the Red
Saturation to -40 and increased the Red
Luminance to +10 to get this type of bleach
bypass look. (
Note:
It may take a minute or
two to see the adjustments reflect in your
video thumbnail in the Filmstrip.)
Step 12:
Okay, so what if you create a cool look
and think you'll want to use this exact look
again on another video clip? Save it as a pre-
set, and then you can apply it with just one
click from the Quick Develop panel in the
Library module. To save a preset, go to the
Presets panel (in the left side Panels area of
the Develop module) and click the + (plus
sign) button on the right side of the panel
header. When the New Develop Preset
dialog appears, start by clicking the Check
None button, then just turn on the check-
boxes for the changes you just made, give
your preset a descriptive name, and then
click the Create button (as shown here).
Continued