HTML and CSS Reference
In-Depth Information
Configure the form control for the E-mail information. Code a
<div>
that is
assigned to the
myRow
class. Create a
<label>
element that is assigned to the
labelCol
class. Code the text,
E-mail
:. Create a text box named
myEmail
.
●
Configure the form control for the Comments. Code a
<div>
. Create a
<label>
element that is assigned to the
labelCol
class. Code the text,
Comments:
. Create a
textarea
named
myComments
with rows set to
2
and
cols set to
20
.
●
Configure the submit button on the form. Code a
<div>
that is assigned to the
mySubmit
class. Code an input element with
type="submit"
and
value="Submit"
.
●
Save your page and display it in a browser. It should look similar to the page shown
in Figure 9.31. If you are connected to the Internet, submit the form. This will send
your form information to the server-side script configured in the
<form>
tag. A con-
firmation page that lists the form information and their corresponding names will be
displayed.
Pasha the Painter
See Chapter 2 for an introduction to the Pasha the Painter Case Study. Figure 2.34
shows a site map for the Pasha the Painter site. The Home page, Services page, and
Testimonials page were created in earlier chapters. You will work with the Web pages in
the paintercss folder in this case study.
You have two tasks:
1.
Add style rules to the painter.css file that will configure a form.
2.
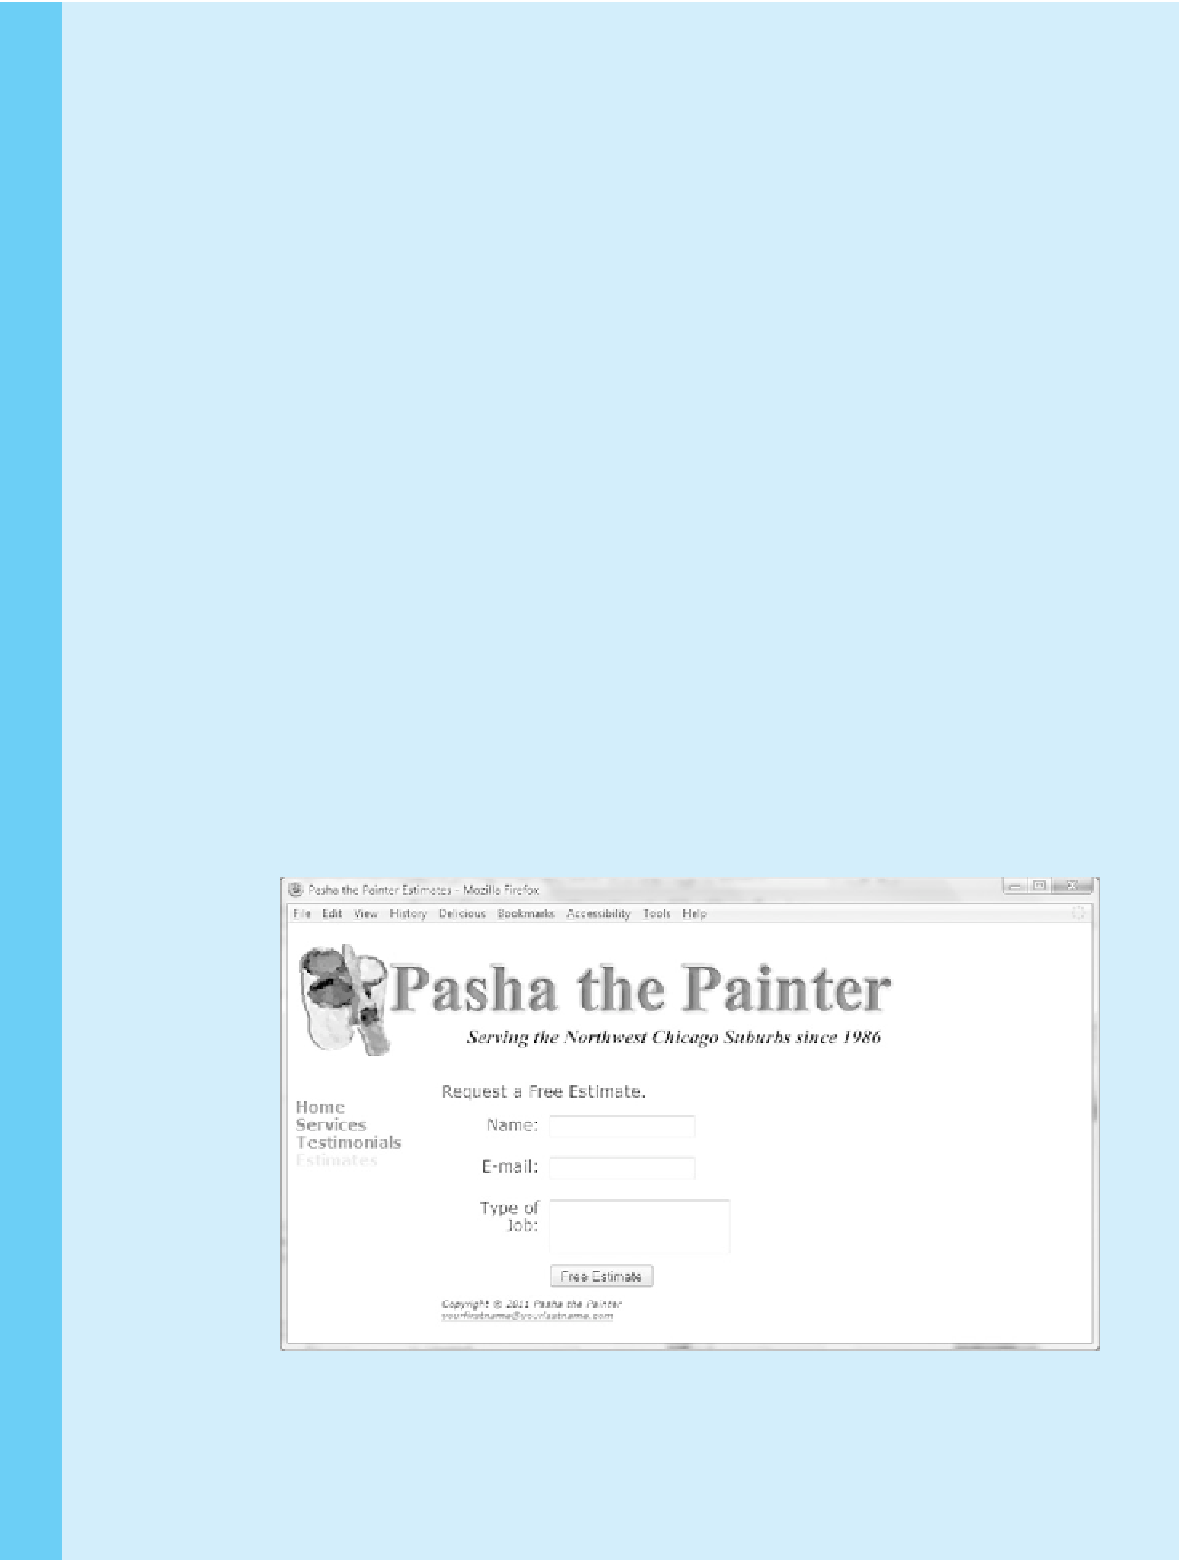
Create a Free Estimate page (estimates.html) as shown in Figure 9.32.
Figure 9.32
Pasha the Painter
estimates.html
Search WWH ::

Custom Search