HTML and CSS Reference
In-Depth Information
Now you will add the configuration required to use the formdemo.asp server-side pro-
cessing with your form. Launch Notepad and open the contact.html file you created in
Hands-On Practice 9.3, also found in the Chapter9/9.3 folder. Modify the
<form>
tag
by adding a
method
attribute with a value of
"post"
and an
action
attribute with a
value of
"http://webdevfoundations.net/scripts/formdemo.asp".
The XHTML
code for the revised
<form>
tag follows:
<form method="post"
action="http://webdevfoundations.net/scripts/formdemo.asp" >
Save your page as contact.html and test it in a browser. Your screen should look similar
to the one shown in Figure 9.21.
Now you are ready to test your form. You must be connected to the Internet to test
your form successfully. Enter information in the form controls and click the submit
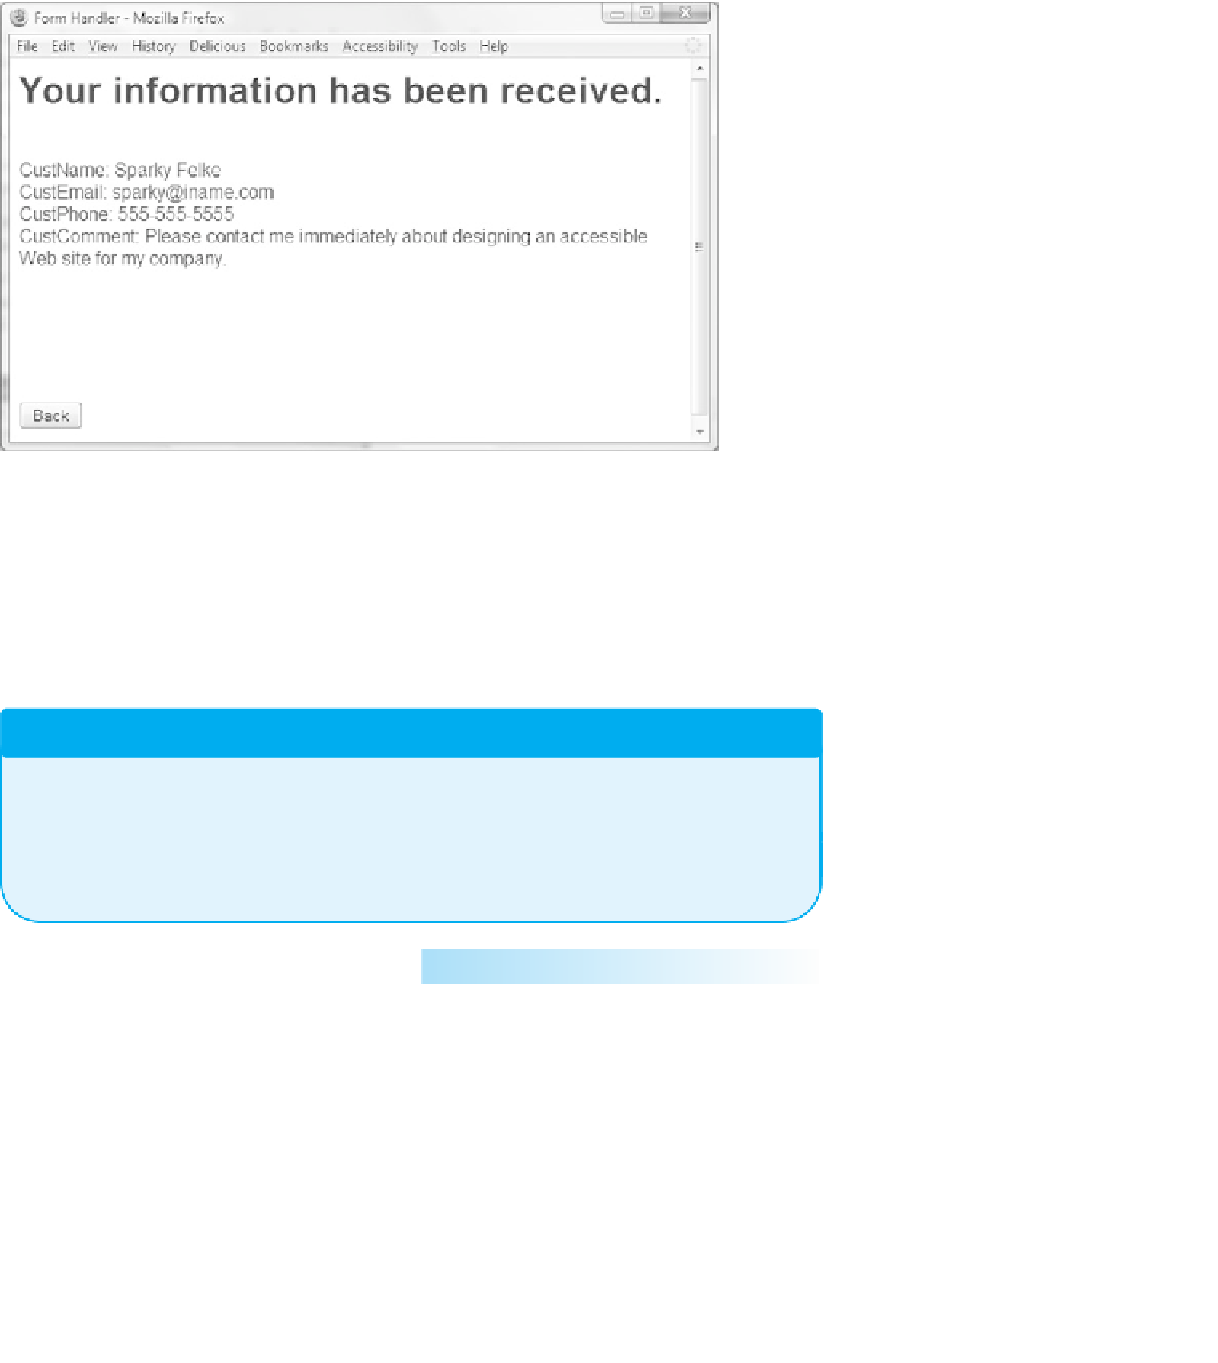
button. You should see a confirmation page similar to the one shown in Figure 9.26.
Figure 9.26
The server-side
script has created
this page in
response to the
form
The formdemo.asp script creates a Web page that displays a message and the form infor-
mation you entered. Where did this confirmation page originate? This confirmation page
was created by the server-side script on the
action
attribute in the
<form>
tag. Sometimes
students wonder what code is used in the formdemo.asp file. Writing scripts for server-
side processing is beyond the scope of this textbook. However, if you are curious, visit
http://webdevfoundations.net/5e/chapter9.html
to see the source code for this script.
FAQ
What do I do if nothing happened when I tested my form?
Try these troubleshooting hints:
●
Verify that your computer is connected to the Internet.
●
Verify the spelling of the script location in the
action
attribute.
●
Attention to detail is crucial!


Search WWH ::

Custom Search