Graphics Programs Reference
In-Depth Information
4.
Choose File a Save For Web & Devices. Select JPEG High from the
Preset drop-down. Type
800
in the Width text box under Image Size
and press Tab. Select Bicubic Sharper from the Quality drop-down.
Click Save.
5.
Save the image as
Faux-HDR.jpg
.
6.
Open the file
HDR01.jpg
that you saved in the previous section or
open the copy in the
HDR Panoramic Photos
folder if you didn't save
your own copy.
7.
HDR01.jpg
is a stop darker than
Faux-HDR.jpg
. To make a fair compar-
ison, select
HDR01.jpg
and choose Image a Adjustments a Exposure.
Open the Adjustments panel and drag the Exposure slider to +1.
8.
Choose Window a Arrange a Float All In Windows. Position
Faux-HDR
.jpg
and
HDR01.jpg
side by side to make an onscreen comparison.
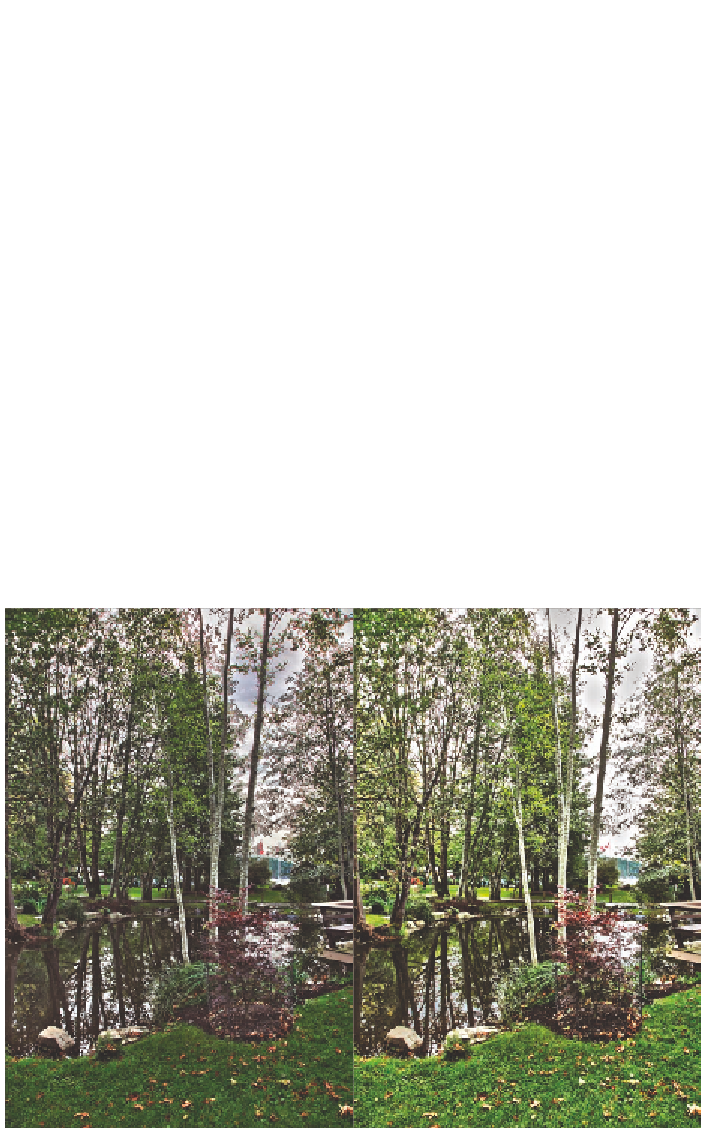
Figure 14.7 shows these images. The true HDR image has detail in
the bright sky and dark shadows; these parts of the photo are burned
out or underexposed in the faux HDR image.
9.
Close all open windows without saving.
FIGURe 14.7
Comparing the true HDR image (left) and the HDR toned image (right)