Graphics Programs Reference
In-Depth Information
2.
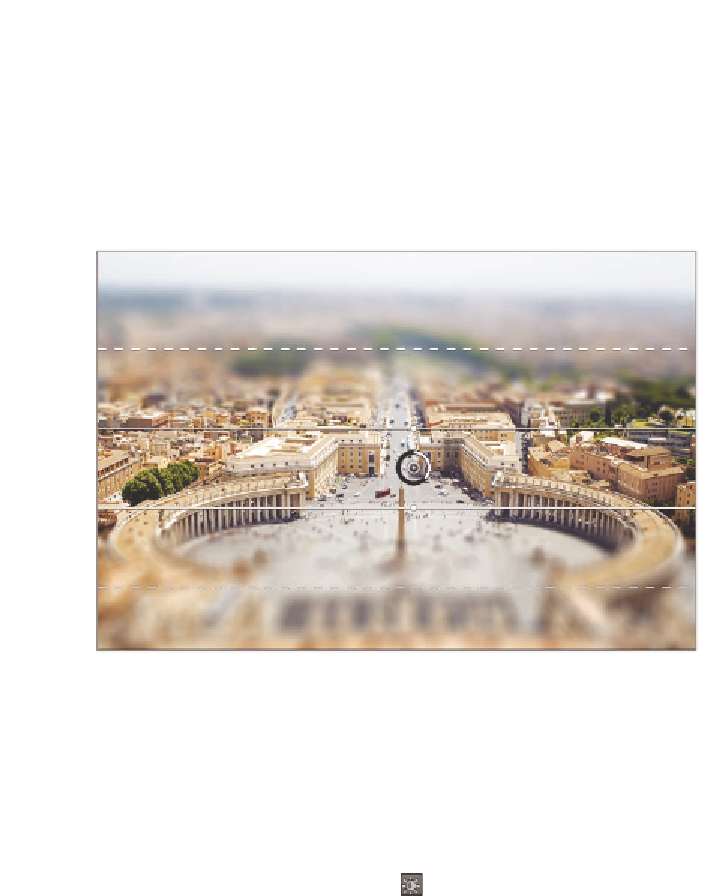
Choose Filter a Blur a Tilt-Shift. In-canvas controls appear, includ-
ing a series of dashed and continuous horizontal lines and a ring that
controls the amount of blur (see Figure 13.23). The solid lines indi-
cate where the blur begins and the dashed lines indicate where the
blur reaches full intensity. The blur ramps up in smooth gradients
from the solid to the dashed lines.
O
You can also use
IrisBlurtosharpen
a single focal point
in a blurred image,
oruseFieldBlurto
create a variable
blurriness between
multiple focal points.
FIGURe 13.23
Tilt-Shift in-canvas controls
O
3.
Drag the central circle to the tip of the obelisk. Drag the bars as
shown in Figure 10.24 so that St. Peter's Square is the only area in
sharp focus. Drag the central ring to 10 px or use the slider in the
Blur Tools panel. Increase Light Bokeh to 30% in the Blur Effects
panel. Click OK on the options bar.
Bokeh
is a Japanese
term referring to
the aesthetic quality
of blur.
4.
Click the Brightness/Contrast icon in the Adjustments panel.
Drag the Contrast slider to +40 in the Properties panel. Increasing
contrast accentuates the toy effect. The people and cars in St. Peter's
Square now look like architectural miniatures.