HTML and CSS Reference
In-Depth Information
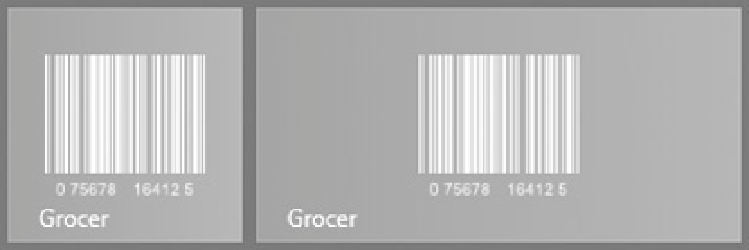
Figure 4-2.
The updated static wide tile
Notice that the word
Grocer
is displayed at the bottom of the tile. I specified this text as the
value for the Short Name option in the Application UI tab and selected the All Logos option for
Show Name so that it is applied to both the regular and wide tiles.
■
You can also replace the splash screen that is shown to the user when the application is
loading. There is a Splash Screen section at the bottom of the Application UI tab in which you can
specify the image and the background color it should be displayed with. The image used for the
splash screen must be 630x300 pixels.
Tip
Updating Tiles
For my example app, I am going to display the first few items on the grocery list. This isn't the
most useful overview, but it will help demonstrate how the tile system works.
Tile updates are based on preconfigured templates, which contain a mix of graphics
and text and are designed for either standard or wide tiles. The first thing you must do is pick
the template you want. The easiest way to do this is to look at the API documentation for the
Windows.UI.Notifications.TileTemplateType
enumeration, which is available at
http://
goo.gl/hbC7R
(I have used short URLs in this chapter because the Microsoft URLs are long
and difficult to read). The template system is based on XML fragments, and you can see the
XML structure for the template you have chosen at
http://goo.gl/w8cN8
. I have chosen the
tileSquareText03
template. This is for a square tile and has four lines of nonwrapping text,
without any images. You can see the XML fragment that represents the tile in Listing 4-3.
Listing 4-3.
The XML Fragment for the tileSquareText03 Tile Template
<tile>
<visual lang="en-US">
<binding template="TileSquareText03">
<text id="1">Text Field 1</text>
<text id="2">Text Field 2</text>
<text id="3">Text Field 3</text>
<text id="4">Text Field 4</text>
</binding>
</visual>
</tile>


Search WWH ::

Custom Search