Database Reference
In-Depth Information
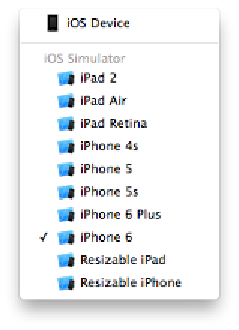
After changing the target device, without stopping the instance running in the
Simulator, click the
run
button, or press
Cmd+R
for you keyboard shortcut lovers.
You'll see the CloudNotes app load and launch on your device, too. It turns out
Xcode knows how to run two separate instances of your app against difference
devices.
Now, in the Simulator, add a new note and tap
Create
to save it. At this point,
iCloud will notice that the user made changes to the ubiquitous container through
Core Data. The iCloud background syncing process will then queue the transaction
logs to be sent to the cloud.
You can speed things along and force a sync by navigating to
Debug\Trigger
iCloud Sync
in the Simulator or switch back to Xcode and select
Debug\iCloud\Trigger Sync in Simulator
. Try these menu options and then
keep an eye on the console log for sync-related messages.
Since you've added a new note in the instance running on the Simulator, you'd
expect it to show up on the device. However, you might have noticed that doesn't
happen. This is a great opportunity to see what iCloud debugging tools are available
and nail down the reason data isn't showing up as expected.
Xcode 5 introduced debugging gauges, one of which is the iCloud gauge. This gauge
displays and continuously updates several key pieces of information that are useful
in debugging iCloud syncing issues.
While the app is running, select the Debug navigator by pressing Command-6.
Since CloudNotes is already running it has already registered some information.