Graphics Programs Reference
In-Depth Information
If you selected the Auto Fill option when first creating your Photo Book then Elements will
have generated a minimum of 18 pages or enough pages to insert the photos that were ini-
tially included. If you want to add images, some text or graphics later on then you will need
to add some extra pages. The Photo Creation file format (.PSE) was developed especially to
handle multi-page documents and to ensure that tasks such as adding, deleting and moving
pages were as easy as possible.
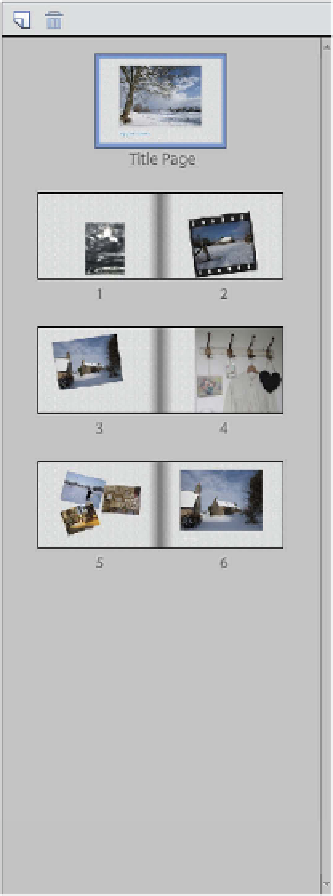
All page management activities are centered around the PSE document in the Pages section
of the Create panel where the pages can be viewed as thumbnails. This is a change from the
last version of the program where the pages were displayed in the Photo Bin.
Adding pages
All new pages in a PSE document are added after
the current selected page. So start by making
sure that the Pages Section of the Create panel
is on view, then select the thumbnail of the page
before the position where the new page is to be
created.
To add a new page click on the New Page button
located in the top left of the panel. A new page is
then added to the document and a new thumb-
nail is displayed in the Pages panel just under-
neath the selected page. The theme and layout of
the new page is the same as the one selected.
Deleting pages
Pages, and the frames and photos they contain,
can be deleted from a multi-page document by
selecting the page thumbnail in the Pages section
of the Create Panel and then clicking the dustbin
button located in the top left hand corner of the
Pages panel.
Viewing pages
Navigate between the different pages of your PSE
document by selecting the thumbnail of the page
that you want to display from the Pages panel.
Alternatively, you can move from one page to the
next using the Forward and Back buttons located
at the bottom of the document window.


Search WWH ::

Custom Search