Graphics Programs Reference
In-Depth Information
Help
Toolbar
Reset After image
Strength of styling action
Retention of detail when styling
Contrast of details
Brush away styling
Brush on styling
View
options
Reduce the appearance
of dark edges
Style colors and tones
Add Style
Images
Project
Bin
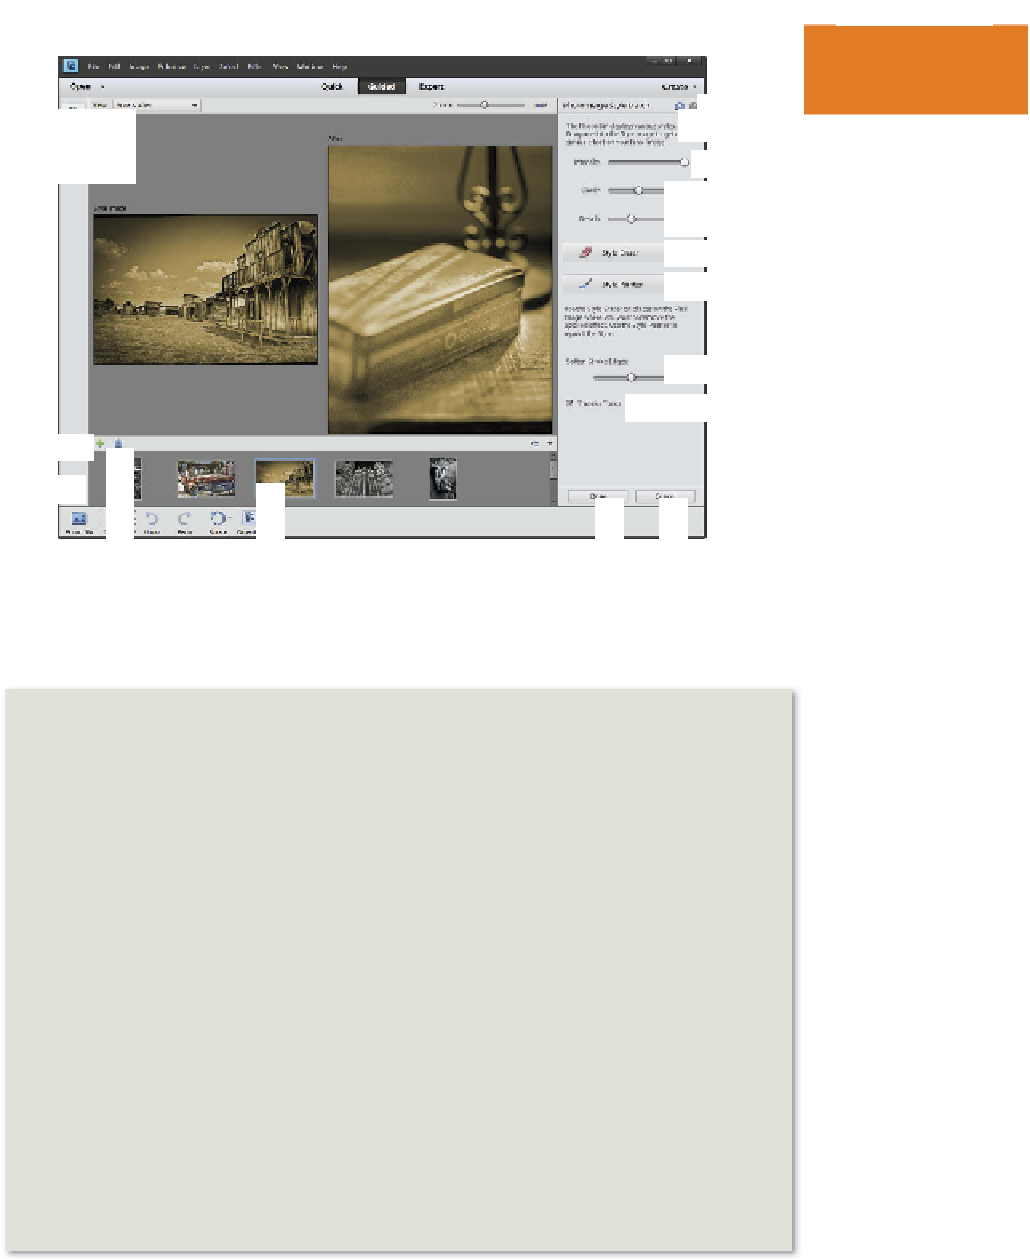
The Photomerge Style Match work-
space contains Style Image and After
image sections as well as a set of ad-
justment sliders and Style and Photo
Bins at the bottom of the screen.
Delete Style
Image
tSt
Style Images
I
Apply
Style
Al
Cancel
styling
Photomerge Style Match workflow:
1 Start by either opening a photo onto the main Editor workspace or selecting its
thumbnail in the Organizer space.
2
Now select Photomerge Style Match from the Enhance menu. In previous ver-
sions it is also possible to choose the Style Match option from the Photomerge
section of the Guided edit pane.
3
The image will then be displayed in After image position (right) in the
Photomerge Style Match workspace and the new Style bin will be displayed at
the bottom of the screen.
4
Double-click on a thumbnail in the bin to place it in the Style Image area. Alter-
natively you can drag the image from the bin to the space.
5
Use the Style Intensity slider to control the amount of styling applied to the
photo. Move the slider to the right to add more styling, to the left to retain more
of the tones, colors and details from the original photo.
6
Use the Style Clarity control to adjust the appearance of details in the photo.
Move the slider to the right to make details more apparent and to the left to
soften them.


Search WWH ::

Custom Search