Graphics Programs Reference
In-Depth Information
Producing your panorama
After successfully capturing our source pictures, it is time to stitch them together to form a
panorama. When selecting the Photomerge Panorama option from inside the Editor work-
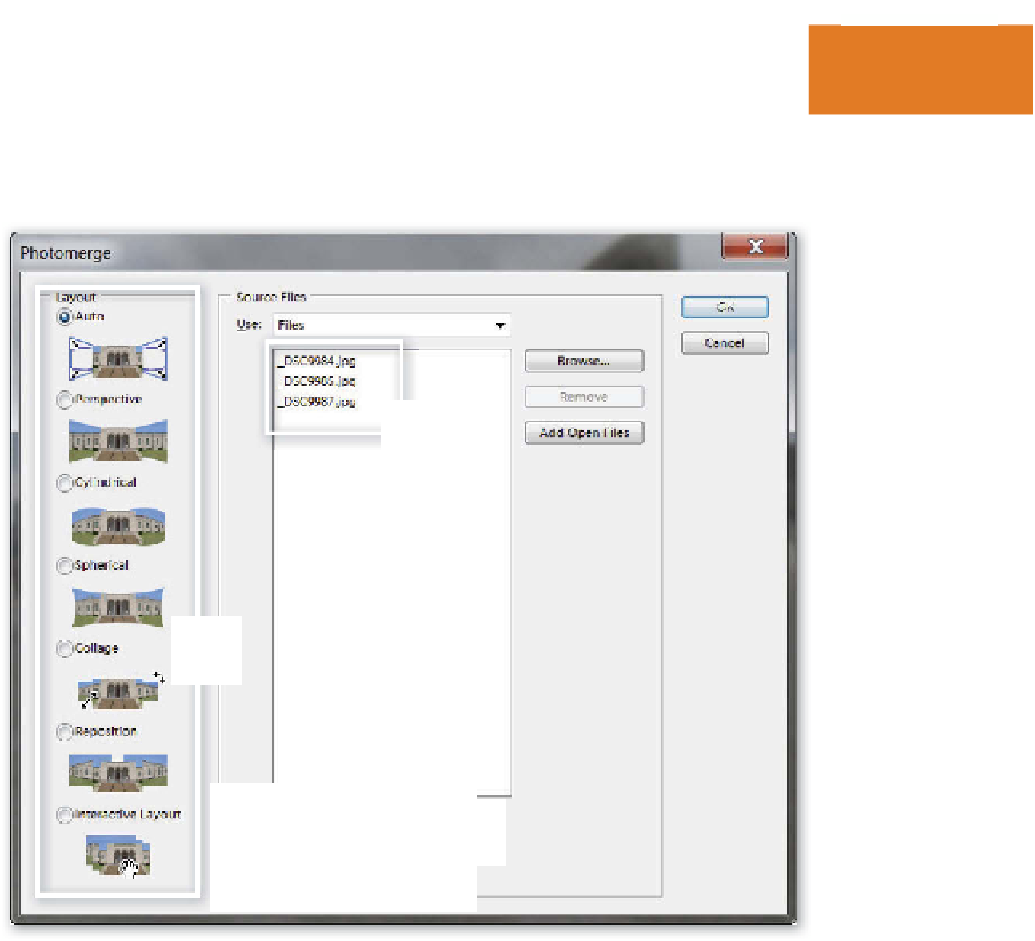
space, you are presented with an enhanced dialog that not only contains Browse/Open and
Remove options, that prompt the user to nominate the picture files that will be used to make
up the panorama, but also a list of stitching approaches (on the left of the dialog).
1
As well as the source files
list (1) the dialog now
includes seven different
Layout modes (2). This is
two more than in the last
release.
The first six options stitch
the source images auto-
matically using different
approaches and the sev-
enth transfers the pictures
to the Photomerge work-
space where the pictures
can be manually placed.
The options at the bottom
of the dialog (3) control
settings used in the
processing and stitching
of the source files. You
should select all three for
best results with most
panoramas.
2
3
The Photomerge Panorama stitching modes
The seven different Photomerge Panorama Stitching and Blending or Layout options in
Photoshop Elements are:
Auto
- aligns and blends source files automatically.
Perspective
- deforms source files according to the perspective of the scene. This is a good
option for panoramas containing 2-3 source files.
Cylindrical
- designed for panoramas that cover a wide angle of view. This option auto-
matically maps the results back to a cylindrical format rather than the bow-tie shape that is
typical of the Perspective option.


Search WWH ::

Custom Search