Graphics Programs Reference
In-Depth Information
Importing photos from your computer
The Organize: File > Get Photos and Videos > From Files and Folders provides you with the
familiar window that allows you to browse for and open pictures that you have already saved
to your computer. You have the option to view your files in a variety of ways. You can choose
between Thumbnails, Tiles, Icons, List and Detail Views using the drop-down menu from
the top of the window. The Thumbnail option provides a simplified File Browser View of the
pictures on your disk and it is this way of working that will prove to be most useful for digital
photographers. After selecting the image, or images, you wish to import into the Photo Browser
or Organizer, select the Get Photos button.
When importing images located on an external hard drive or archived to a CD/DVD you can
deselect the Copy Files On Import option to choose to reference the photos in their original
location rather than transfer a copy to your computer. If you are working this way then it
is a good idea to select the Generate Previews option as this will ensure that the thumbnails
of these 'Offline' photos which are displayed in the browser workspace of the Organizer are
always good quality.
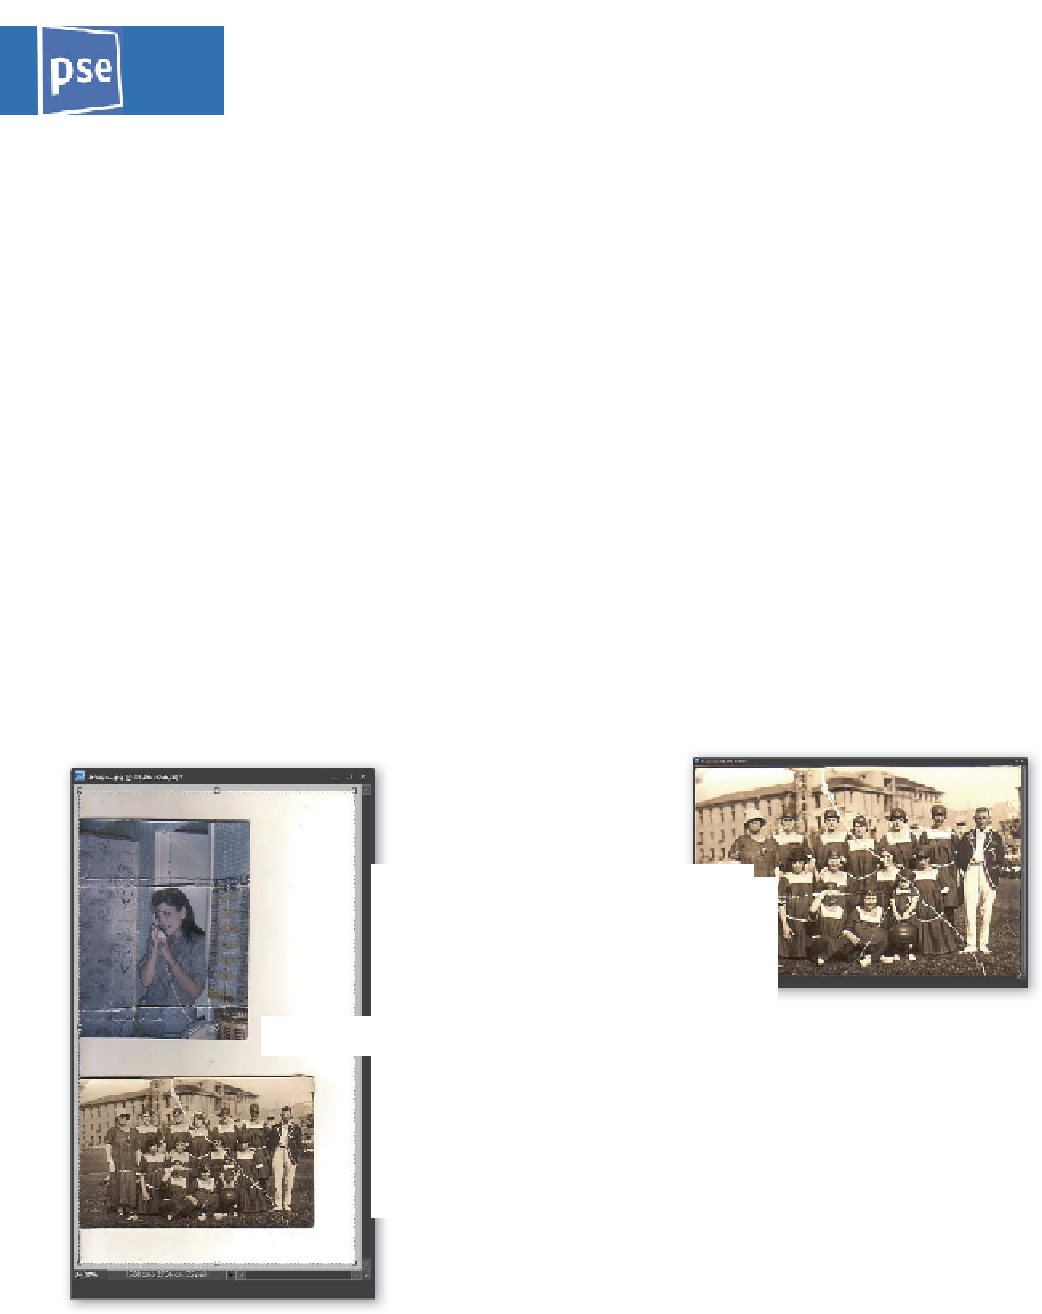
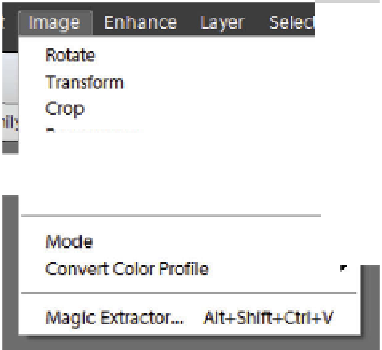
Editor: Image > Divide Scanned Photos
For those readers with many pictures to scan, the Divide Scanned Photos feature will prove
a godsend. With this feature you can scan several prints at once on a flatbed scanner and
then allow Elements to separate each of the individual pictures and place them in a new
document.
To ensure accurate division of photos, place a colored backing sheet on top of the prints to be
scanned. This helps the program distinguish where one picture starts and the other ends.
The Divide Scanned Photos options provides a quick
way to separate pictures that have been scanned
together.


Search WWH ::

Custom Search