Graphics Programs Reference
In-Depth Information
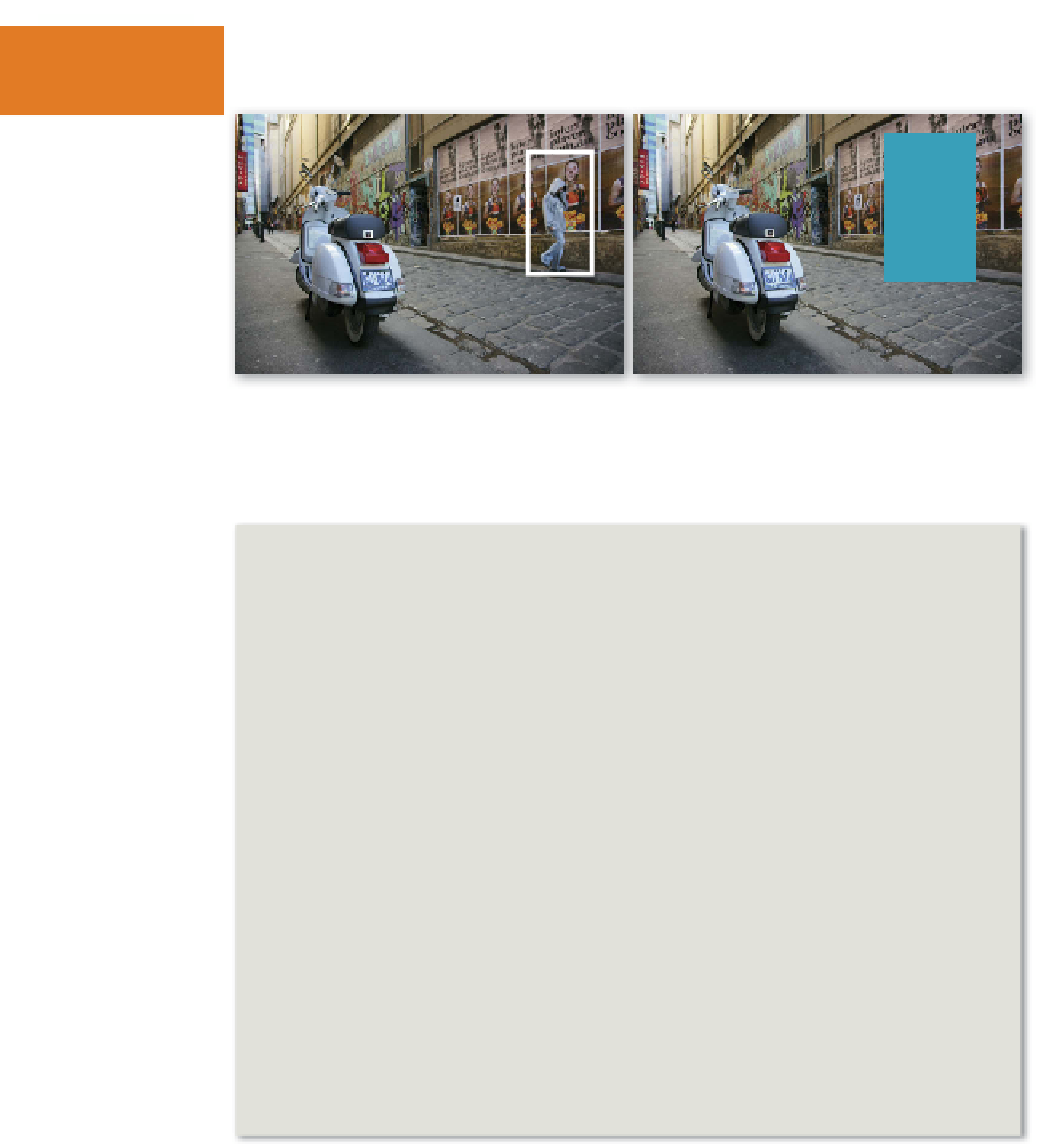
When shooting the photos to be used with the Scene Cleaner feature it is important to make sure that you
photograph each important part of the scene, free of obstructions, over the series of pictures. If for instance,
a tourist is sitting in the same place for all the photos, then it won't be possible for Elements to remove them
from the picture.
Photomerge Scene Cleaner workflow:
1 Start by multi-selecting the source images in the Organizer workspace. Remem-
ber that you can drag a selection marquee around the thumbnails to choose
more than one photo at a time.
2 With the source photos selected, choose the Photomerge Scene Cleaner option
from the Enhance menu. The pictures will be transferred to the Editor work-
space and placed in the Photo Bin.
3
The first image that you selected will be automatically placed in the Source posi-
tion (left) in the workspace. The next step is to drag another one of the source
photos and drop it into the Final position (right) in the workspace.
4
Now select the Pencil tool from the Photomerge Scene Cleaner pane on the right
of the workspace and make a few marks over the areas on the Source image that
you want to transfer to the Final image.
5
If too much of the source photo is being pasted to the Final image, select the
Eraser tool from the pane and erase some of the Pencil strokes. Add more of the
Source photo's contents by drawing more strokes on the image.
6
Click the Done button to process the files and create the montaged picture. Press
the Cancel button to stop the feature, close the window and return to Elements.


Search WWH ::

Custom Search