Graphics Programs Reference
In-Depth Information
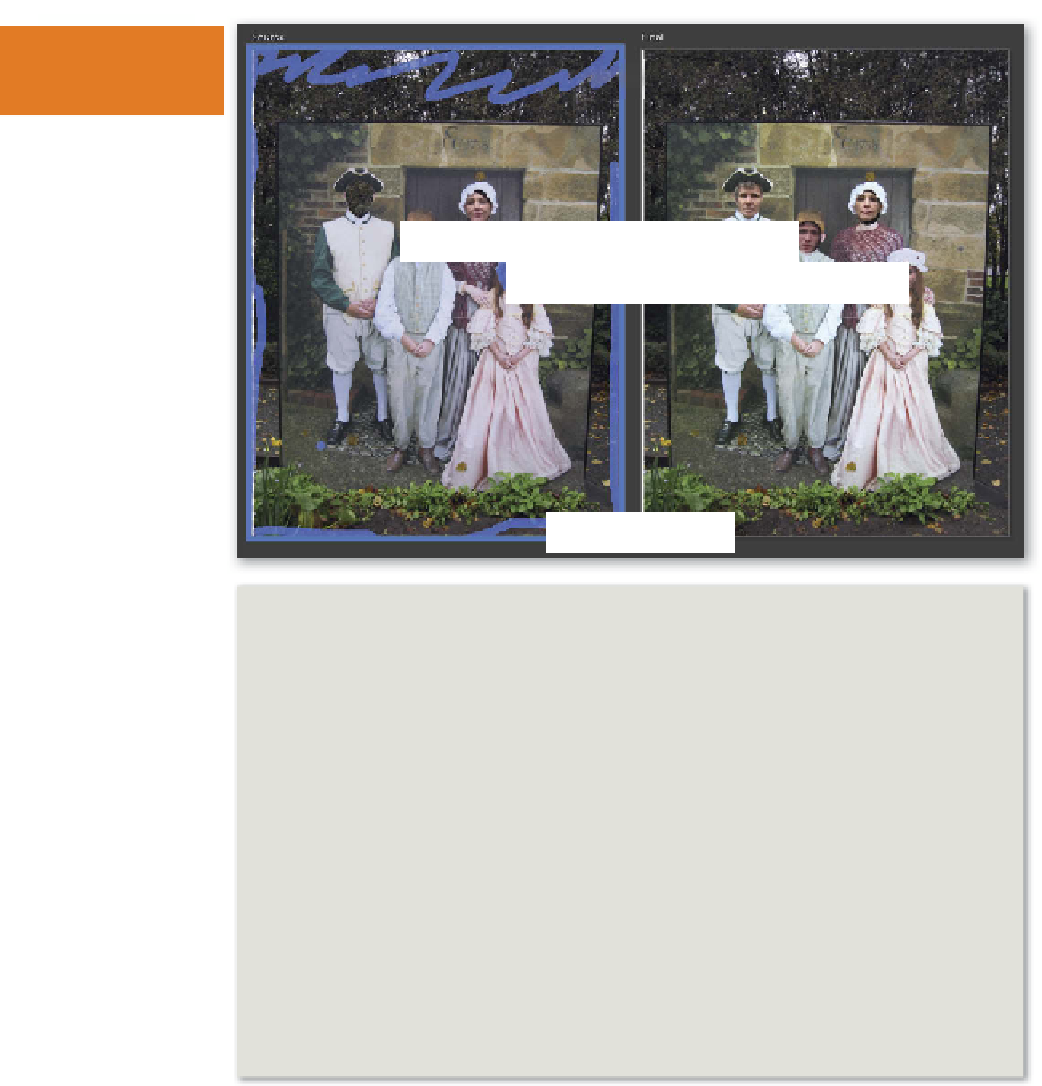
The Pencil tool is used to
draw over the areas in the
source photo that are to
pasted into the final im-
age. The Eraser can be
used to refine these areas
by changing the shape and
size of the pencil marks.
5
If you have more than one source image in the Photo Bin, click onto alternative
photos to display them in the Source preview area and then use the Pencil tool
to draw over the areas to add to the final picture. The highlight color around the
edge of the source image in the Photo Bin matches the color of the pencil strokes
in the Source area so that you always know which photo is the source.
6
For the best results it is important for the Source pictures to be aligned with
the final image. If the photos weren't aligned in the transfer process from the
Organizer space then manually align them by selecting the Alignment tool in
the Group Shot workspace. Position the three alignment markers on similar
positions in both the source and final photos and then click the Align Photos
button to line the images up.
7
The Pixel Blending option softens the edges of the source and final picture parts
and often creates a smoother transition between the elements. Deselecting this
option leaves the pasted source picture parts with a hard edge. Click the Done
button to create the montage.
The Faces feature is used to mix, or blend, facial characteristics from two or more (maxi-
mum 10) different images to create a single, montaged, caricatured face as the end re-
sult. Like the Group shot option, the feature is assessed by clicking the Edit > Photomerge
entry in the Organizer workspace or Enhance > Photomerge Faces in the Editor, and
then following the directions in the panel. Unlike other features involving the Photo Bin


Search WWH ::

Custom Search