Graphics Programs Reference
In-Depth Information
tion can result in the loss of edge detail as Elements aligns each photo. Whenever possible
try to keep the quality of the light falling on the background and the subjects the same in all
source photos. Having one picture with full sun and another in the sequence photographed
under cloudy skies will make it more difficult to achieve a seamless composition.
Face to face positioning
The Photomerge Faces option is used to create a composite face from several different por-
trait photos. To obtain convincing results it is helpful to ensure that the faces are of similar
size and facing in the same direction in each of the source photos. This is not to say that
'interesting' results can be obtained when using dissimilar photos, just that it is easier to
stitch portrait photos that are similar.
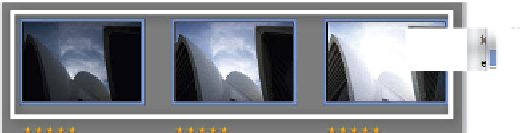
Source files can be select-
ed in the Organizer work-
space before choosing the
Photomerge option from
the Enhance menu.
With the source files carefully captured, it is now time to bring these photos into one of the
Photomerge options and commence the stitching process. There are two main ways to do
this - via the Organizer or in the Editor workspace.
Organizer: Edit > Photomerge option
From early versions of Elements, Photomerge features have also been able to be accessed
from the Organizer workspace as well as from within the Editor. This means that you can
locate and multi-select a series of source files using the Photo Browser before selecting one
of the Photomerge options from the Edit menu (previously Enhance). This action will open
the source files into the Editor workspace. The images will be automatically added to the
Photomerge workspace ready for you to start the stitching process. The specific workspace
will depend on which of the Photomerge options were selected.
Editor: Enhance > Photomerge option
The same Photomerge options are available from inside the Editor workspace and are
located under the Enhance menu (previously the File > New menu). After picking the
Photomerge option, a new pop-up dialog will appear where you can choose the Open All
button to use all open photos in the stitching process.


Search WWH ::

Custom Search